How to Fix Surfactant Leaching
Don’t Panic—Your Walls Aren’t Crying!
Imagine you just finished painting a room, and a few days later, strange streaks appear on your beautiful new walls. Well, maybe you don't need to imagine. What you’re seeing is what we call in the painting business: “surfactant leaching.” It’s a common (and fixable) paint issue that can rear its head in humid climates especially.
But what is it? And why is it there? And most importantly: how do you deal with it!?
Understanding Surfactant Leaching
First, a little chemistry lesson (just, without much chemistry).
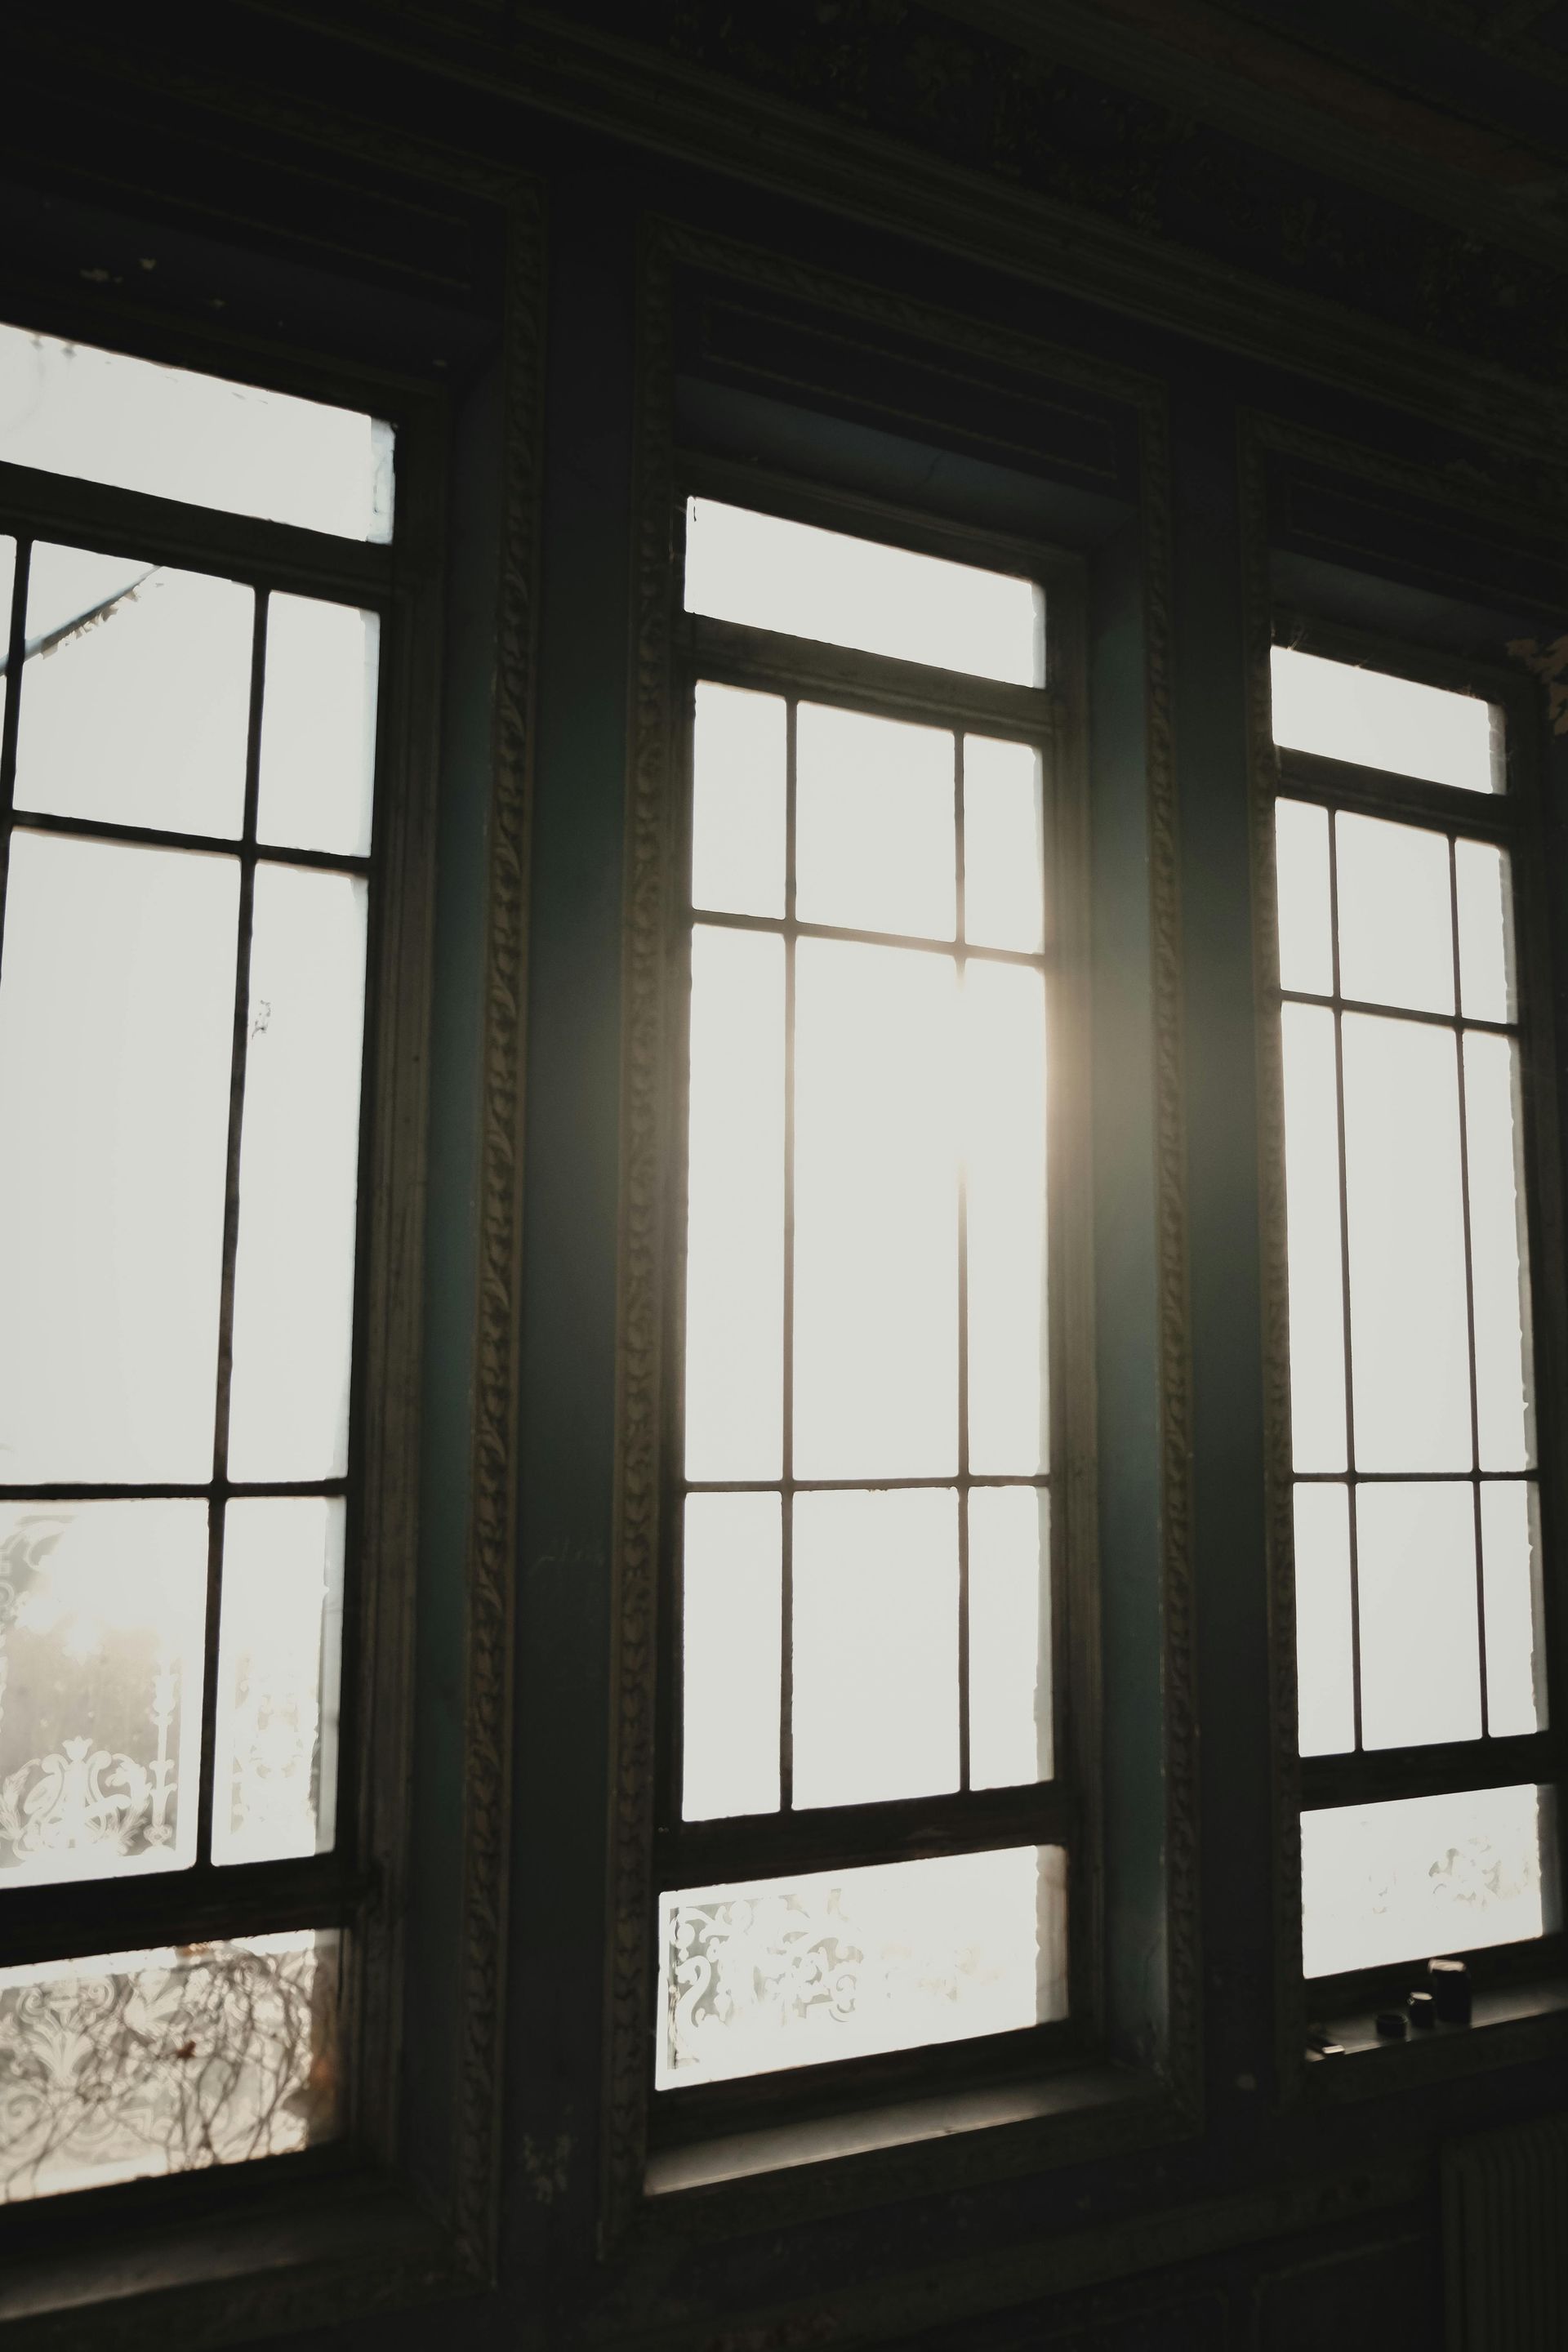
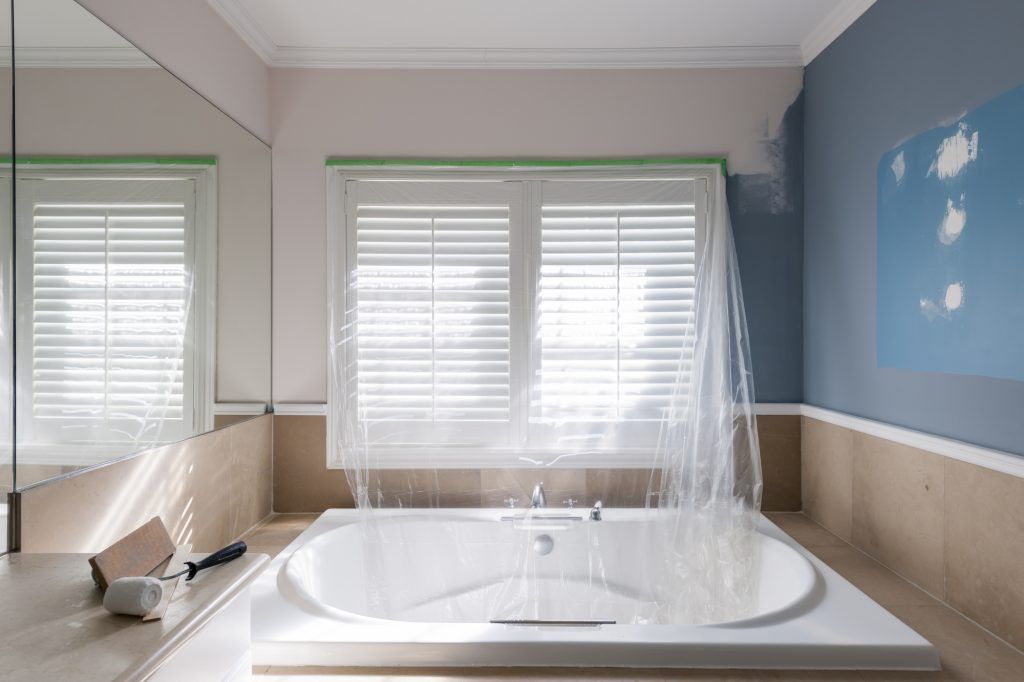
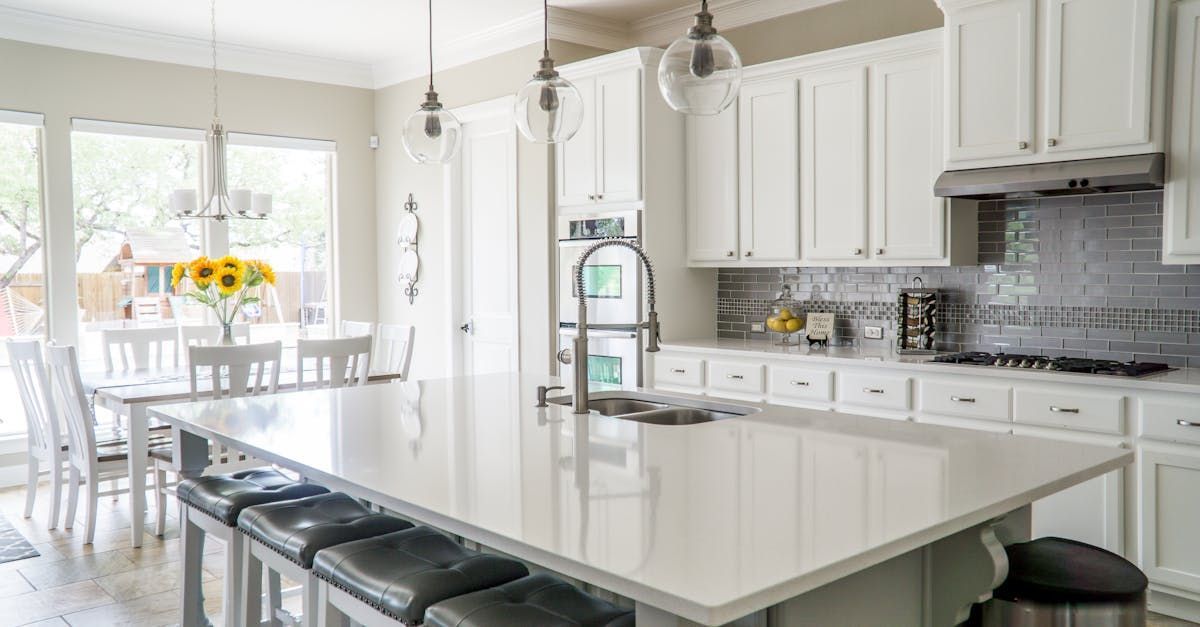
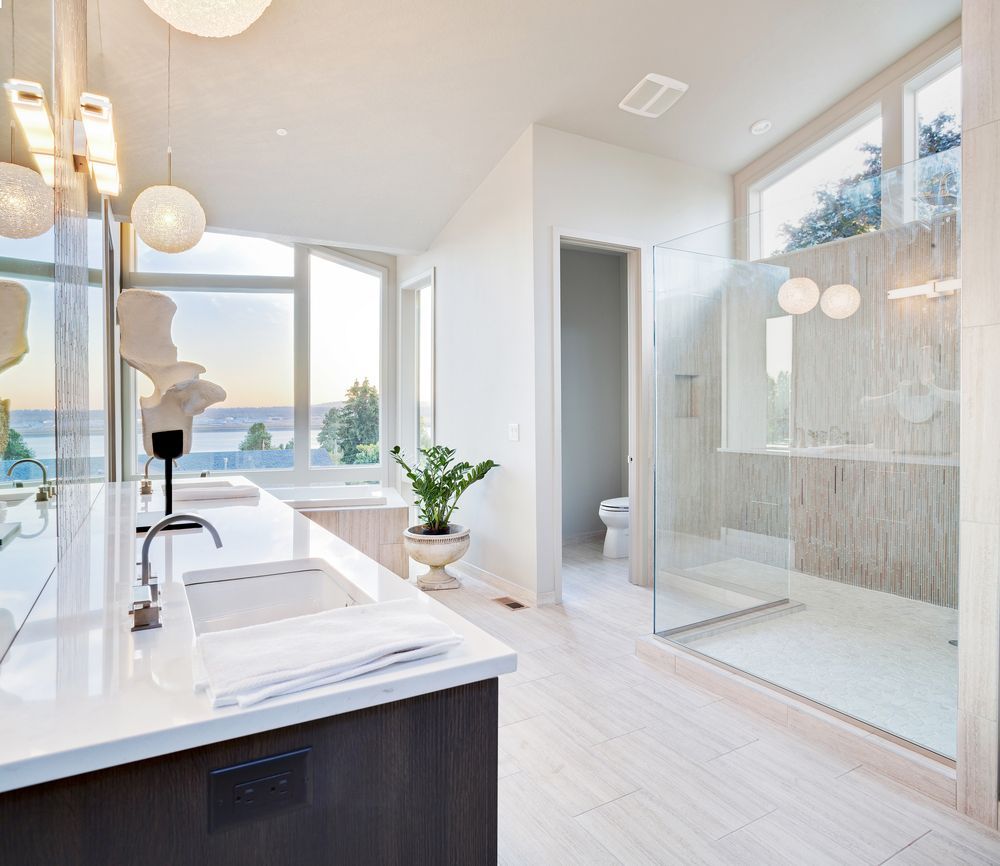
Surfactant leaching happens when the water-soluble additives in paint rise to the surface before fully drying. It often appears as shiny, sticky streaks or brownish discoloration, typically in areas with high humidity or poor ventilation—think bathrooms, kitchens, and exterior walls in damp climates.
In places like the Pacific Northwest, where damp conditions persist for much of the year, surfactant leaching is not uncommon, so you’re not alone! While it can look alarming, it doesn’t affect the durability or integrity of the paint. Once properly cleaned and dried, the affected areas usually return to normal. Repeated occurrences, however, could indicate ongoing moisture issues or improper application techniques that need to be addressed.
Common Causes of Surfactant Leaching
Okay, chances are if your walls look like a two-year-old’s face after a stubbed toe, you’re not just looking for definitions. Let’s get practical. Surfactant leaching is primarily driven by two things: moisture and improper application techniques. Understanding these causes can help you prevent it in the future. To break it down:
Environmental Factors
- Humidity: Excess moisture in the air slows paint drying and encourages surfactants to rise to the surface.
- Temperature Fluctuations: Painting in cold, damp conditions—common in the Pacific Northwest—makes leaching more likely.
- Poor Ventilation: Bathrooms and kitchens without proper airflow trap moisture, leading to surfactant buildup on walls.
Application Issues
- Painting in Damp Conditions: Applying paint on rainy or foggy days prevents proper curing.
- Inadequate Drying Time Between Coats: Rushing the job can trap moisture inside the paint layer.
- Using Low-Quality Paint: Cheaper paints often have higher surfactant content, making them more prone to leaching.
Step-by-Step Solutions for Surfactant Leaching
Fixing surfactant leaching is pretty straightforward if you know the tips and tricks:
- Gather Supplies: Mild soap, water, a soft sponge, and clean towels.
- Gently Wash the Affected Area: Use a mild soapy solution and a damp sponge to remove the streaks.
- Rinse and Dry: Wipe with clean water and pat dry with a soft cloth.
- Improve Ventilation: If indoors, use fans or open windows to speed up drying.
- Let It Cure: If the issue persists, wait for the paint to fully cure before considering a repaint.
- Repaint (If Necessary): Use high-quality, moisture-resistant paint if leaching continues.
Fixing surfactant leaching is a quick and easy task, and could be done within 10-30 minutes (depending on the size of the room) with basic cleaning supplies. Just keep in mind, while most cases can be resolved with a simple wipe-down, persistent or widespread issues may indicate underlying moisture problems, making professional intervention a smart choice for long-term prevention.
Prevention Strategies
Preventing surfactant leaching starts with smart planning and proper painting techniques. Choosing a high-quality, moisture-resistant paint specifically designed for humid environments is the first line of defense. Timing is also crucial—avoid painting on damp or rainy days. We know, that's not easy for Oregon homeowners, but always check the forecast before starting! Patience is key, too; allow each coat to dry fully before applying the next to ensure a strong, even finish. And finally, good ventilation is vital, especially in moisture-prone areas like bathrooms and kitchens; use exhaust fans to significantly reduce humidity levels and prevent future issues.
You know who understands Oregon’s tricky, moisture-heavy climate better than anyone? Fitzpatrick Painting & Construction! With over 30 years of hands-on experience, we’ve mastered the best techniques for interior painting, ensuring a smooth, long-lasting finish every time.