What Type of Paint Works Best in High-Moisture Areas Like Bathrooms?
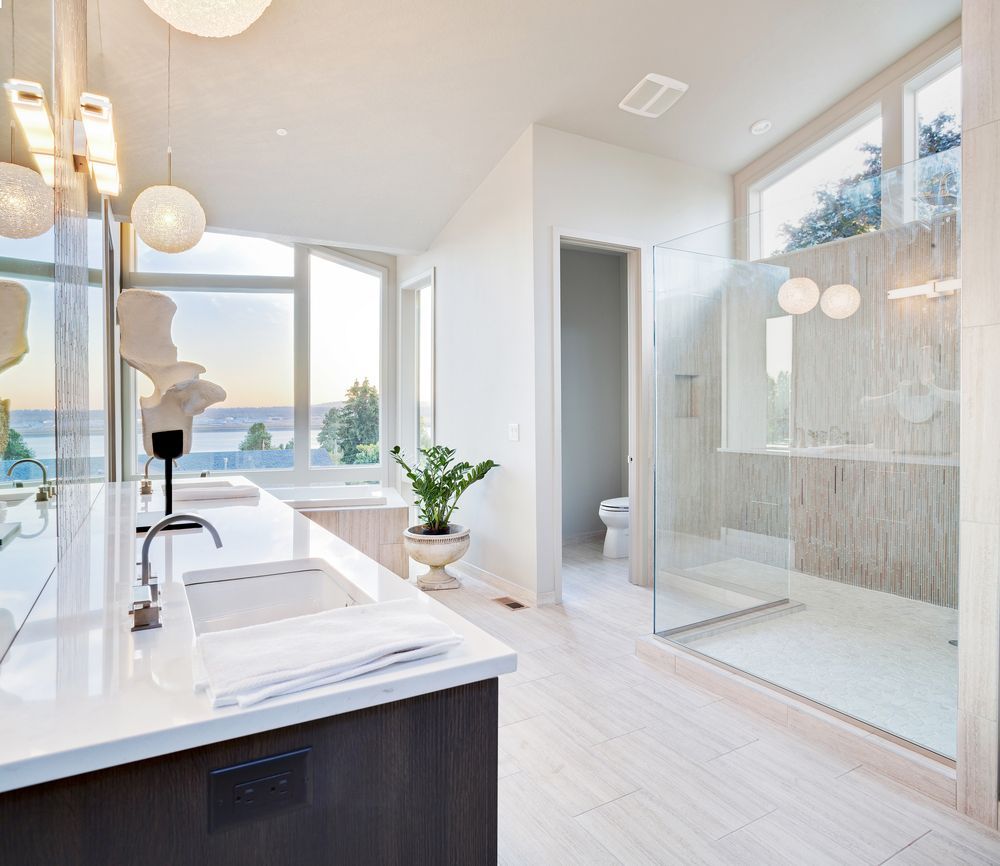
Bathrooms are where the magic happens—hot showers, bubble baths, emergency teeth brushing sessions—but they’re also where paint goes to die if you don’t pick the right kind. Between steam, splashes, and daily humidity cycles that rival a tropical rainforest, regular wall paint doesn’t stand a chance. Choosing the right paint isn’t just about looks; it's about survival.
Moisture-resistant paints with mildewcide additives and semi-gloss or satin finishes are specifically designed for high-humidity bathrooms and can make the difference between walls that shine and walls that whine (and peel... and grow things).
Understanding Paint Formulations for Moisture-Prone Areas
So, what exactly makes a “bathroom paint” different from your run-of-the-mill interior wall paint? It’s all in the ingredients.
Bathroom-specific paints are engineered with additives that make them tougher against moisture, easier to clean, and more resistant to mold and mildew. These additives—like mildewcides—literally stop fungal growth in its tracks. On top of that, they’re designed to bond better to tricky bathroom surfaces and hold up against the heat and humidity that would send lesser paints running for the hills.
In short: if you’re painting a high-moisture area like a bathroom, kitchen, or laundry room, choosing a regular matte wall paint is... well, it’s a bad idea.
Best Paint Types for Bathroom Walls and Ceilings
So, what are your options? Let's break it down.
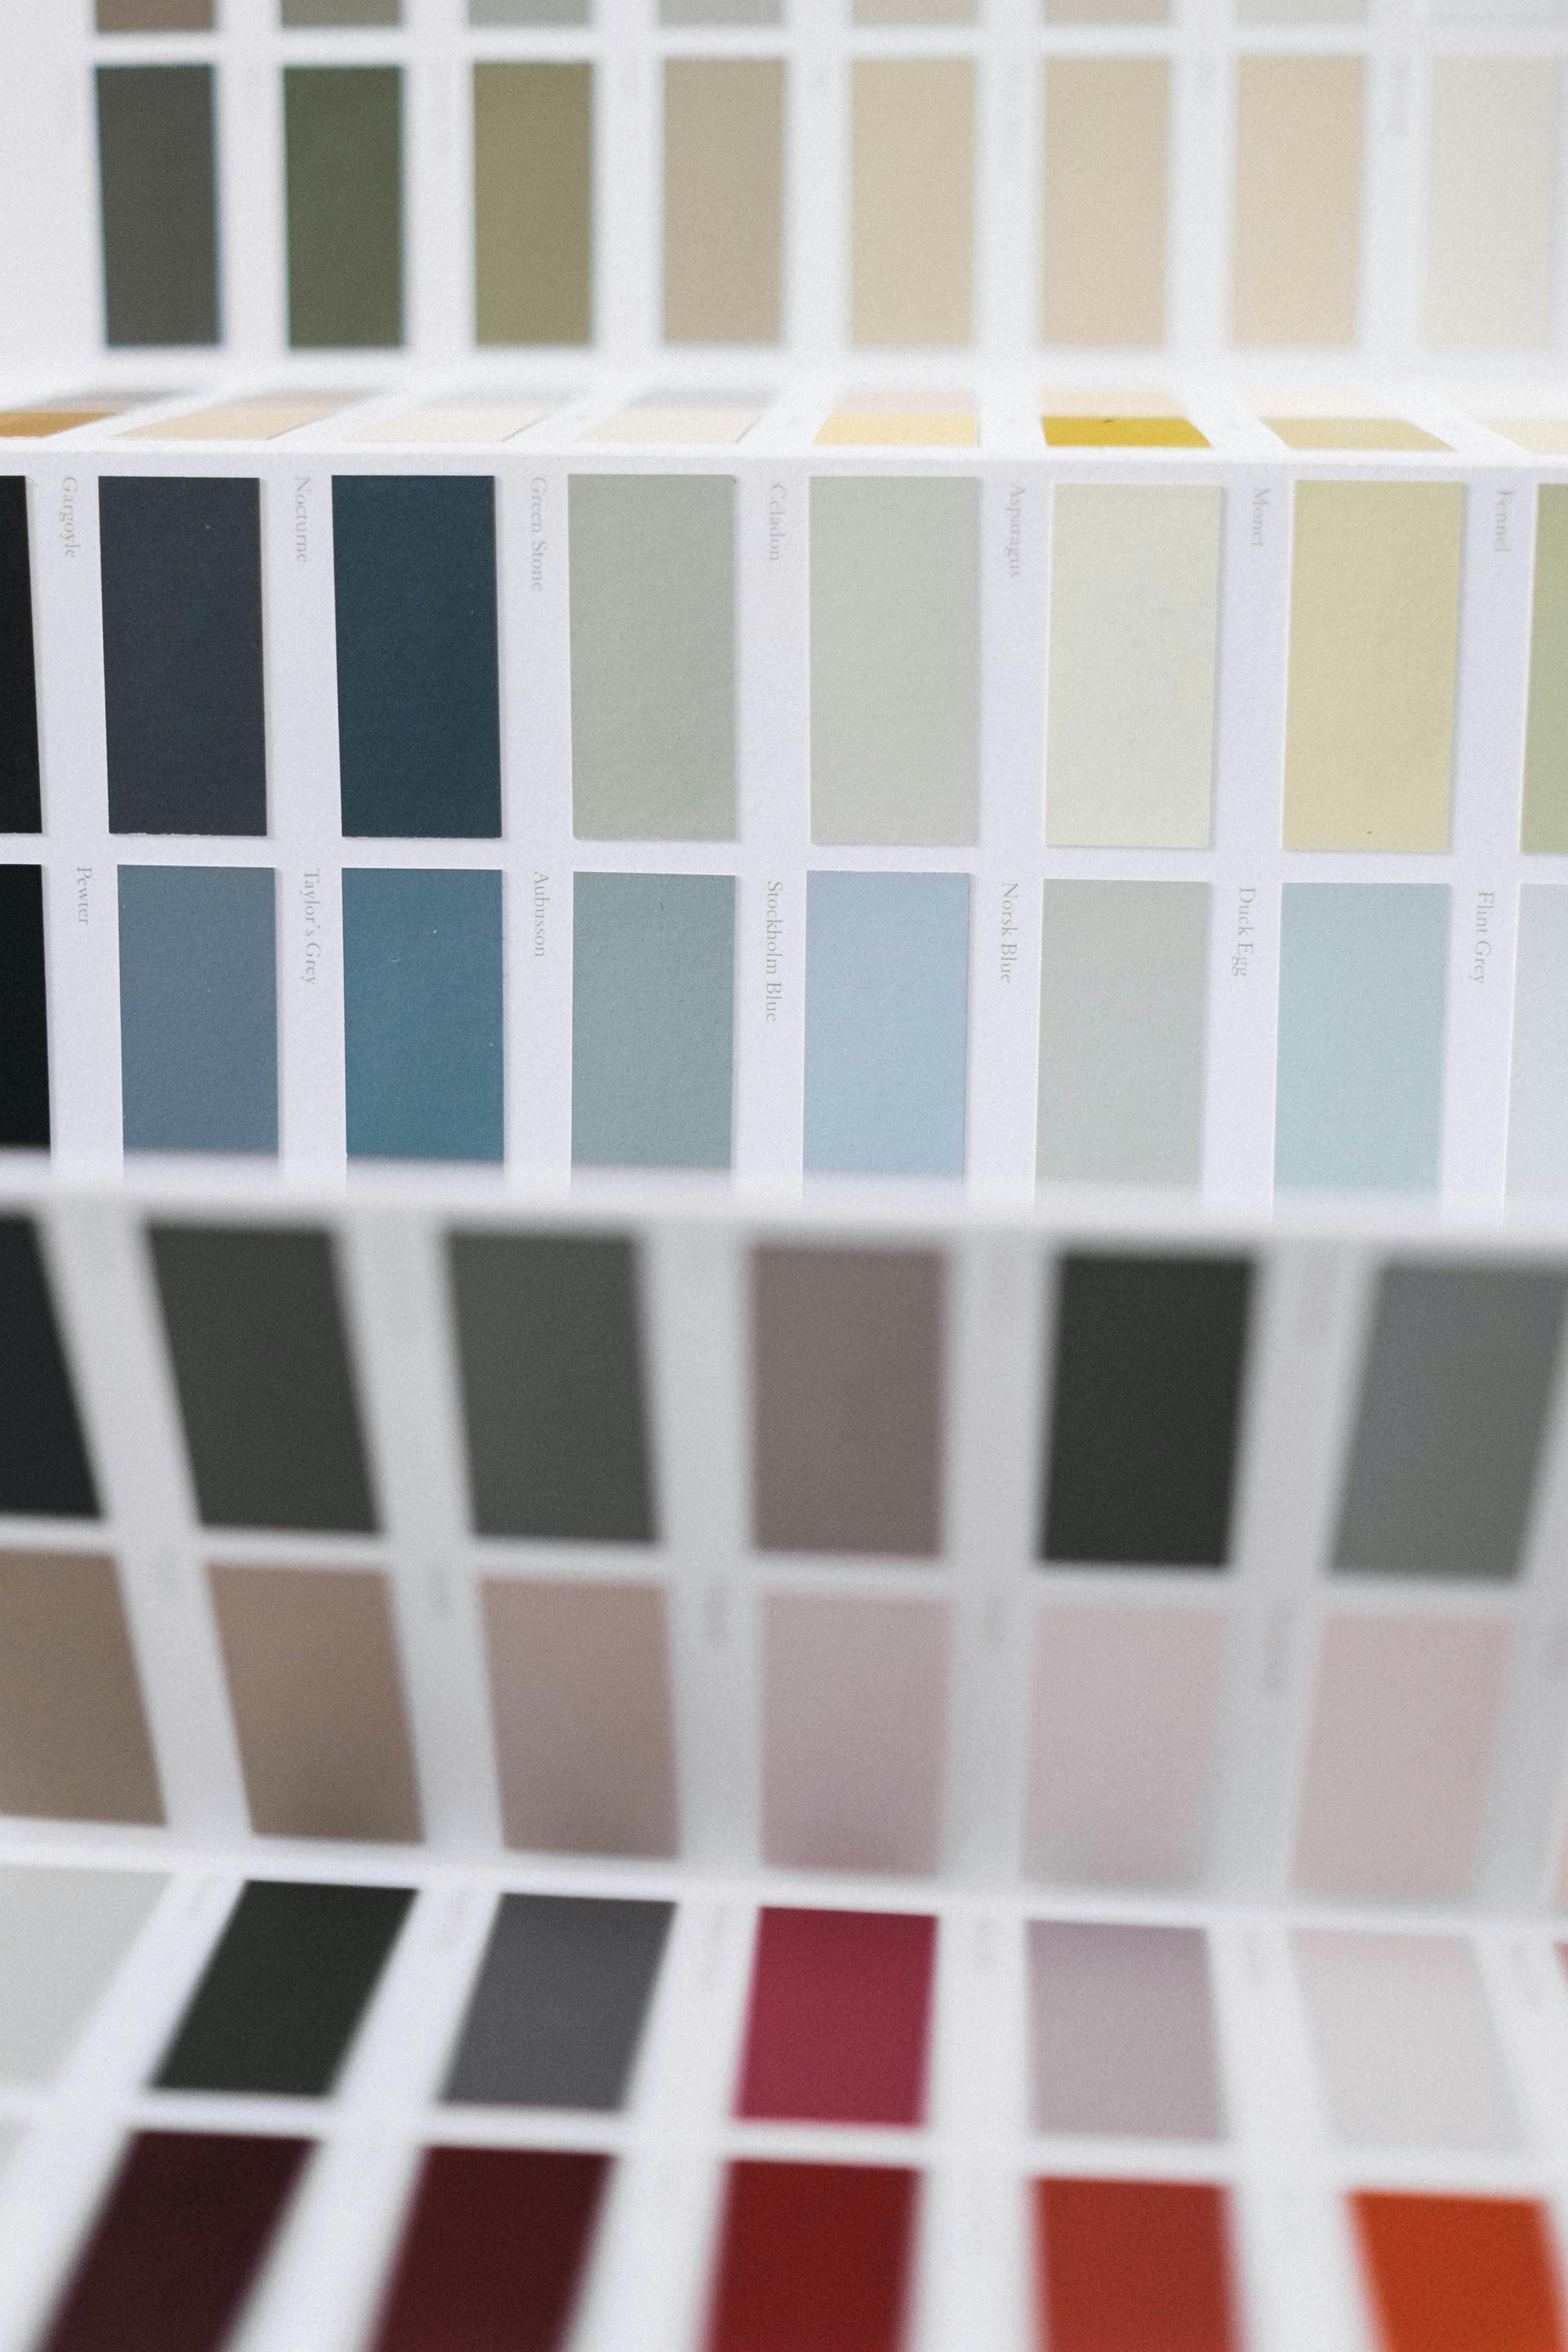
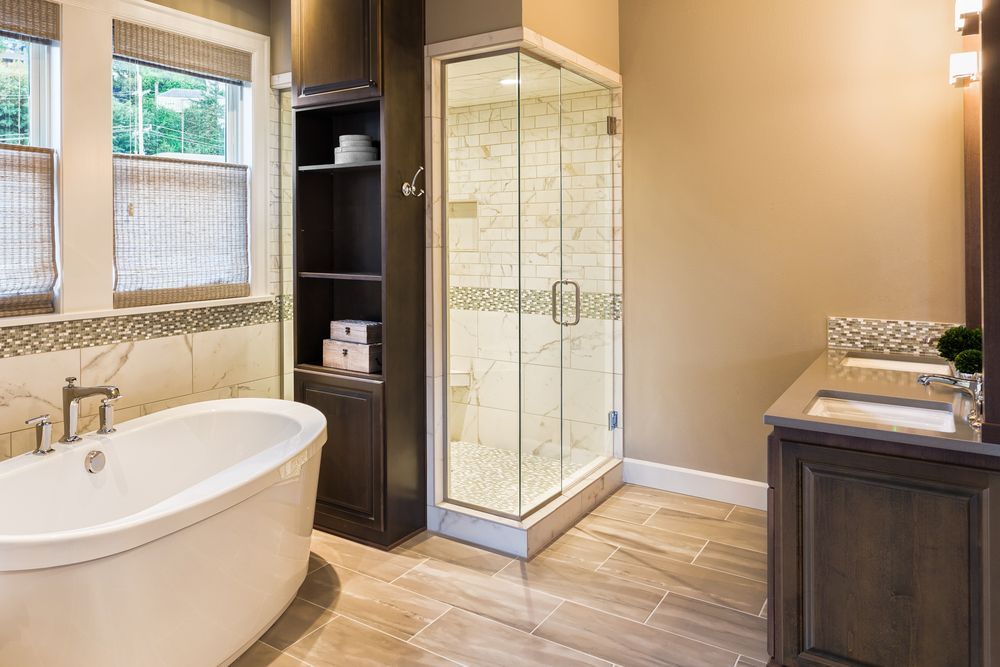
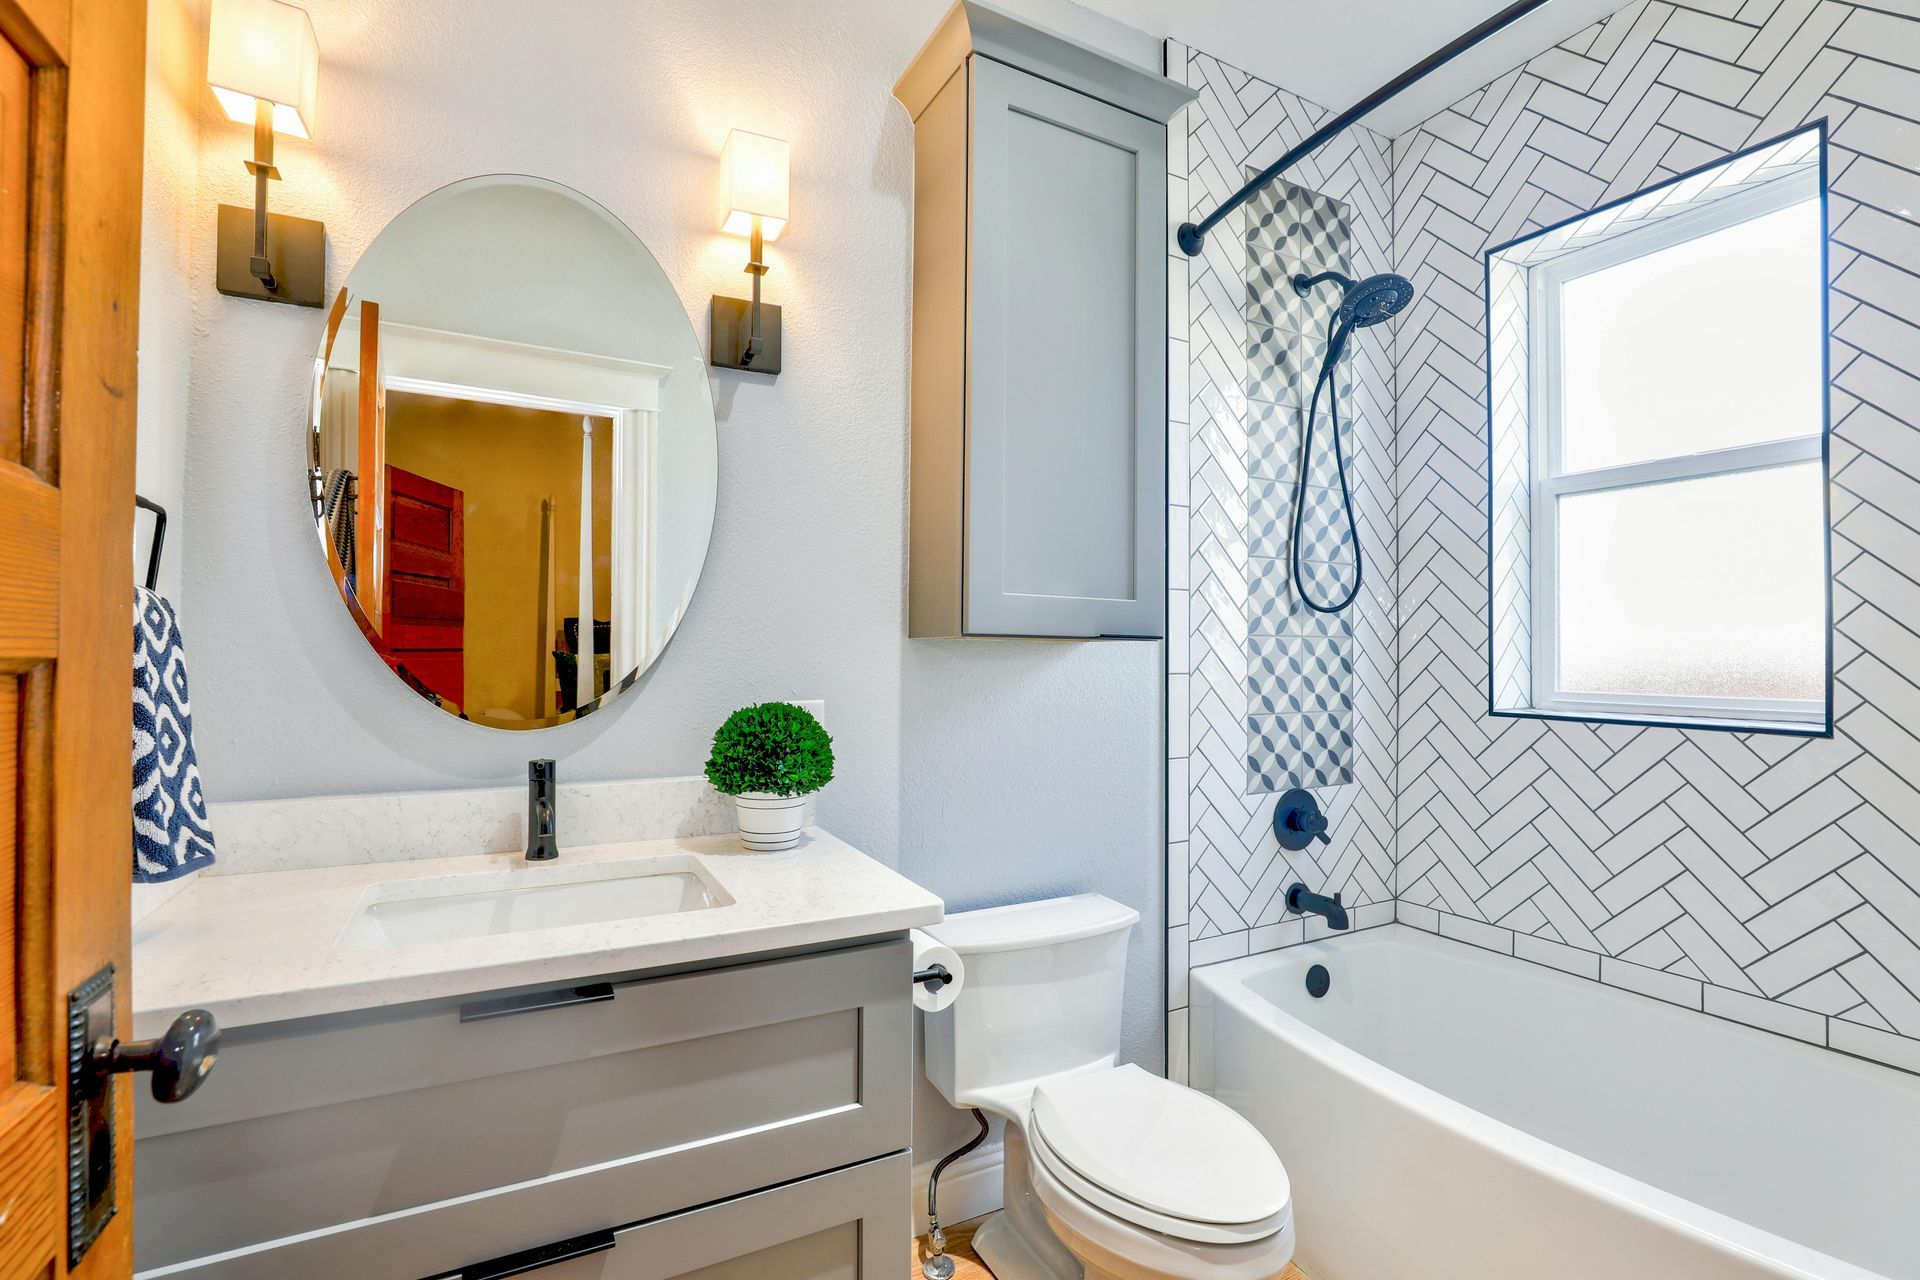
1. Semi-Gloss and Satin Finishes
Semi-gloss and satin finishes are the raincoats of the paint world—durable, moisture-resistant, and easy to clean. Semi-gloss offers a higher sheen and is ideal for areas near sinks or tubs, while satin has a softer look but still holds up well against humidity. Both finishes outlast flat paints in bathrooms, resisting water damage and making wall maintenance a breeze.
2. Mildew-Resistant Paint Options
In steamy bathrooms, mildew-resistant paint is essential. These formulas include mildewcide additives that help prevent mold and mildew—especially useful in Oregon’s damp climate. They’re a smart investment for bathrooms with limited ventilation and keep your walls healthier and looking clean longer.
3. Specialized Bathroom Paint Products
Some paints are built for battle. Benjamin Moore Aura® Bath & Spa resists moisture with a rare matte finish. Zinsser Perma-White® is mold-proof and self-priming—perfect for older walls.
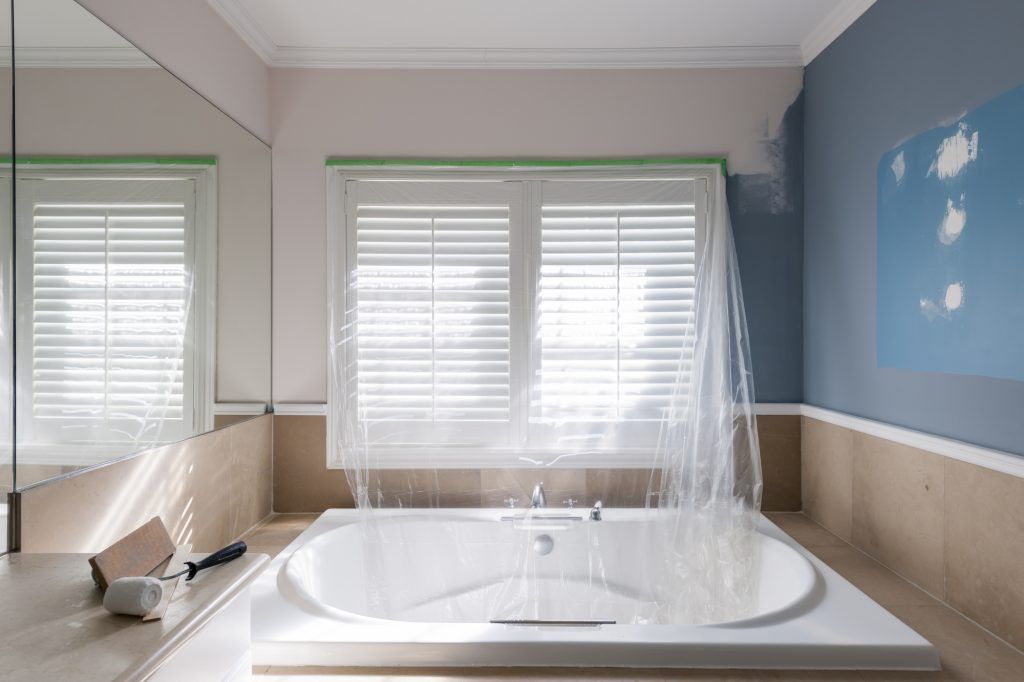
Preparing Your Bathroom Surfaces for Painting
Before you even pop the lid off that fancy mildew-resistant paint, there's some critical prep work to do. High-moisture areas like bathrooms demand a little extra TLC before painting, or else even the best products won’t last.
Addressing Existing Moisture Problems
Before you paint, you’ve got to deal with any existing moisture issues. Look for signs like bubbling paint, peeling corners, dark spots, or musty smells—these usually point to hidden water problems. Poor ventilation, leaky plumbing, or cracked grout can also contribute to excess moisture buildup. If you spot any of these red flags, fix them first.
Proper Surface Preparation Techniques
Once moisture issues are handled, it’s time to prep the surface. Start by cleaning the walls thoroughly with a solution of warm water and mild detergent—or vinegar for a natural option—to remove soap scum, mildew, and grime. Rinse well and let everything dry completely. Next, lightly sand glossy areas to help the new paint grip better, and patch any dings or cracks with a moisture-resistant spackling compound. Finally, apply a high-quality primer made for humid spaces.
Application Tips for Long-Lasting Bathroom Paint
Even the best bathroom paint needs the right application to perform like it should. From choosing the right tools to ensuring the paint cures properly, a little technique goes a long way in keeping your walls looking fresh for years.
Recommended Tools and Techniques
- Use high-quality synthetic brushes for cutting in around trim and fixtures, and a dense foam or microfiber roller for smooth, even coverage on walls and ceilings.
- Apply paint in thin, even coats—two is usually best—and avoid overloading your roller to prevent drips.
- Don’t forget to cut in first, then roll while the edges are still wet to keep a seamless finish.
Optimal Drying Conditions
Humidity is paint’s worst enemy when it comes to drying. Make sure the bathroom is well-ventilated during and after painting—run an exhaust fan, crack a window, or use a portable fan to keep air moving. Try to paint when the humidity is low, and wait at least 24 hours before exposing the space to steam from showers or baths. Proper drying equals longer-lasting paint and less risk of peeling or bubbling later on.
When to Hire Professional Painters for Your Bathroom
Let’s be real—painting a bathroom isn’t the same as touching up a hallway. Tight spaces, tricky corners, and surfaces that need to endure heat and water daily can make it a challenging project. If your bathroom has existing mold, damaged drywall, or ventilation issues, it’s smart to call in the pros.
Professional painters like the team at Fitzpatrick Painting & Construction can spot potential issues before they become costly repairs—and let’s face it, you’d probably rather be doing literally anything else than painting behind a toilet.
Frequently Asked Questions
Q: How often should bathroom paint be replaced in Oregon's climate?
A: With high-quality paint and proper ventilation, your bathroom paint should last 5–7 years. If you notice peeling, bubbling, or discoloration, it might be time for a refresh.
Q: What is surfactant leaching in painting and why does it happen in bathrooms?
A: It’s when water-soluble ingredients in paint rise to the surface and leave behind streaks or shiny spots—usually caused by moisture. It’s common in new paint jobs exposed to humidity too soon. Thankfully, it’s cosmetic and usually goes away with gentle cleaning.
Q: Do I need special paint for bathroom trim and cabinets?
A: Yes! Go for enamel-based or moisture-resistant trim paints. These areas see lots of contact and humidity, so they need extra durability.
Q: How long should I wait to use my bathroom after it's been painted?
A: Give it at least 24 hours before steamy showers. Light use is fine after a few hours, but keep ventilation going and avoid splashing water on fresh paint.
Q: Will bathroom paint help prevent mold behind shower surrounds?
A: Unfortunately, not really. Paint can only protect what it covers. If mold is growing behind your shower panels or tiles, that’s a ventilation or waterproofing issue—not something paint alone can fix.