The Essential Guide to Painting Interior Doors: Tips & Rules
Last Updated: February 28, 2024
It’s so easy to take your doors for granted, isn’t it? You pass through them day after day, and you barely notice those bumps, scrapes, and scuffs start to accumulate. Have kids or pets? Well, maybe you do notice then…
Repainting your doors can be an incredibly satisfying and transformative experience, breathing new life into your home. But, you have to do it the right way for the right results.
Today, let’s dive into a few tips and tricks that will equip you with everything you need to know, ensuring that your new paint looks amazing and has performance to match. After all, few things are more frustrating than getting those surfaces looking just right, only to have the paint fail after a month or three.
Ready?
How To Prepare Interior Doors for Paint
Here’s the secret to a gorgeous paint finish: preparation.
These steps might seem tedious, and you could find a “hack” on Pinterest that offers a workaround, but honestly? There’s just no substitute for the right products, the right tools, and elbow grease.
Start by removing the door from its hinges and taking off any hardware. Clean the door with a mild detergent to remove dirt and grease, then sand it down to ensure the new paint adheres well.
Here’s what you’ll need:
- Fine-grit sandpaper
- Tack cloth or a damp rag
- Screwdriver (for hardware removal)
- Painter’s tape
- Drop cloths or plastic sheeting
Picking the Right Paint for Your Doors
Pick your paint carefully. Starting broadly, you have two options: oil based or latex.
Oil-based paints are renowned for their durability, but they’re also smellier, harder to work with and clean up, and not as forgiving. In most cases they’re not necessary unless you’re going for a really specific, high-end finish.
Latex paint, especially products designed for doors, trim, and cabinets that cure to a harder finish, are a solid choice. They’re lower-odor, quick to dry, and easier to clean up.
Your next choice is going to be the finish type. Remember, glossier paint is typically more durable and washable, but it’s NOT as forgiving of surface imperfections. Matte and satin finishes offer a smoother style that might not be quite as strong but look fantastic and are a breeze to touch up down the road.
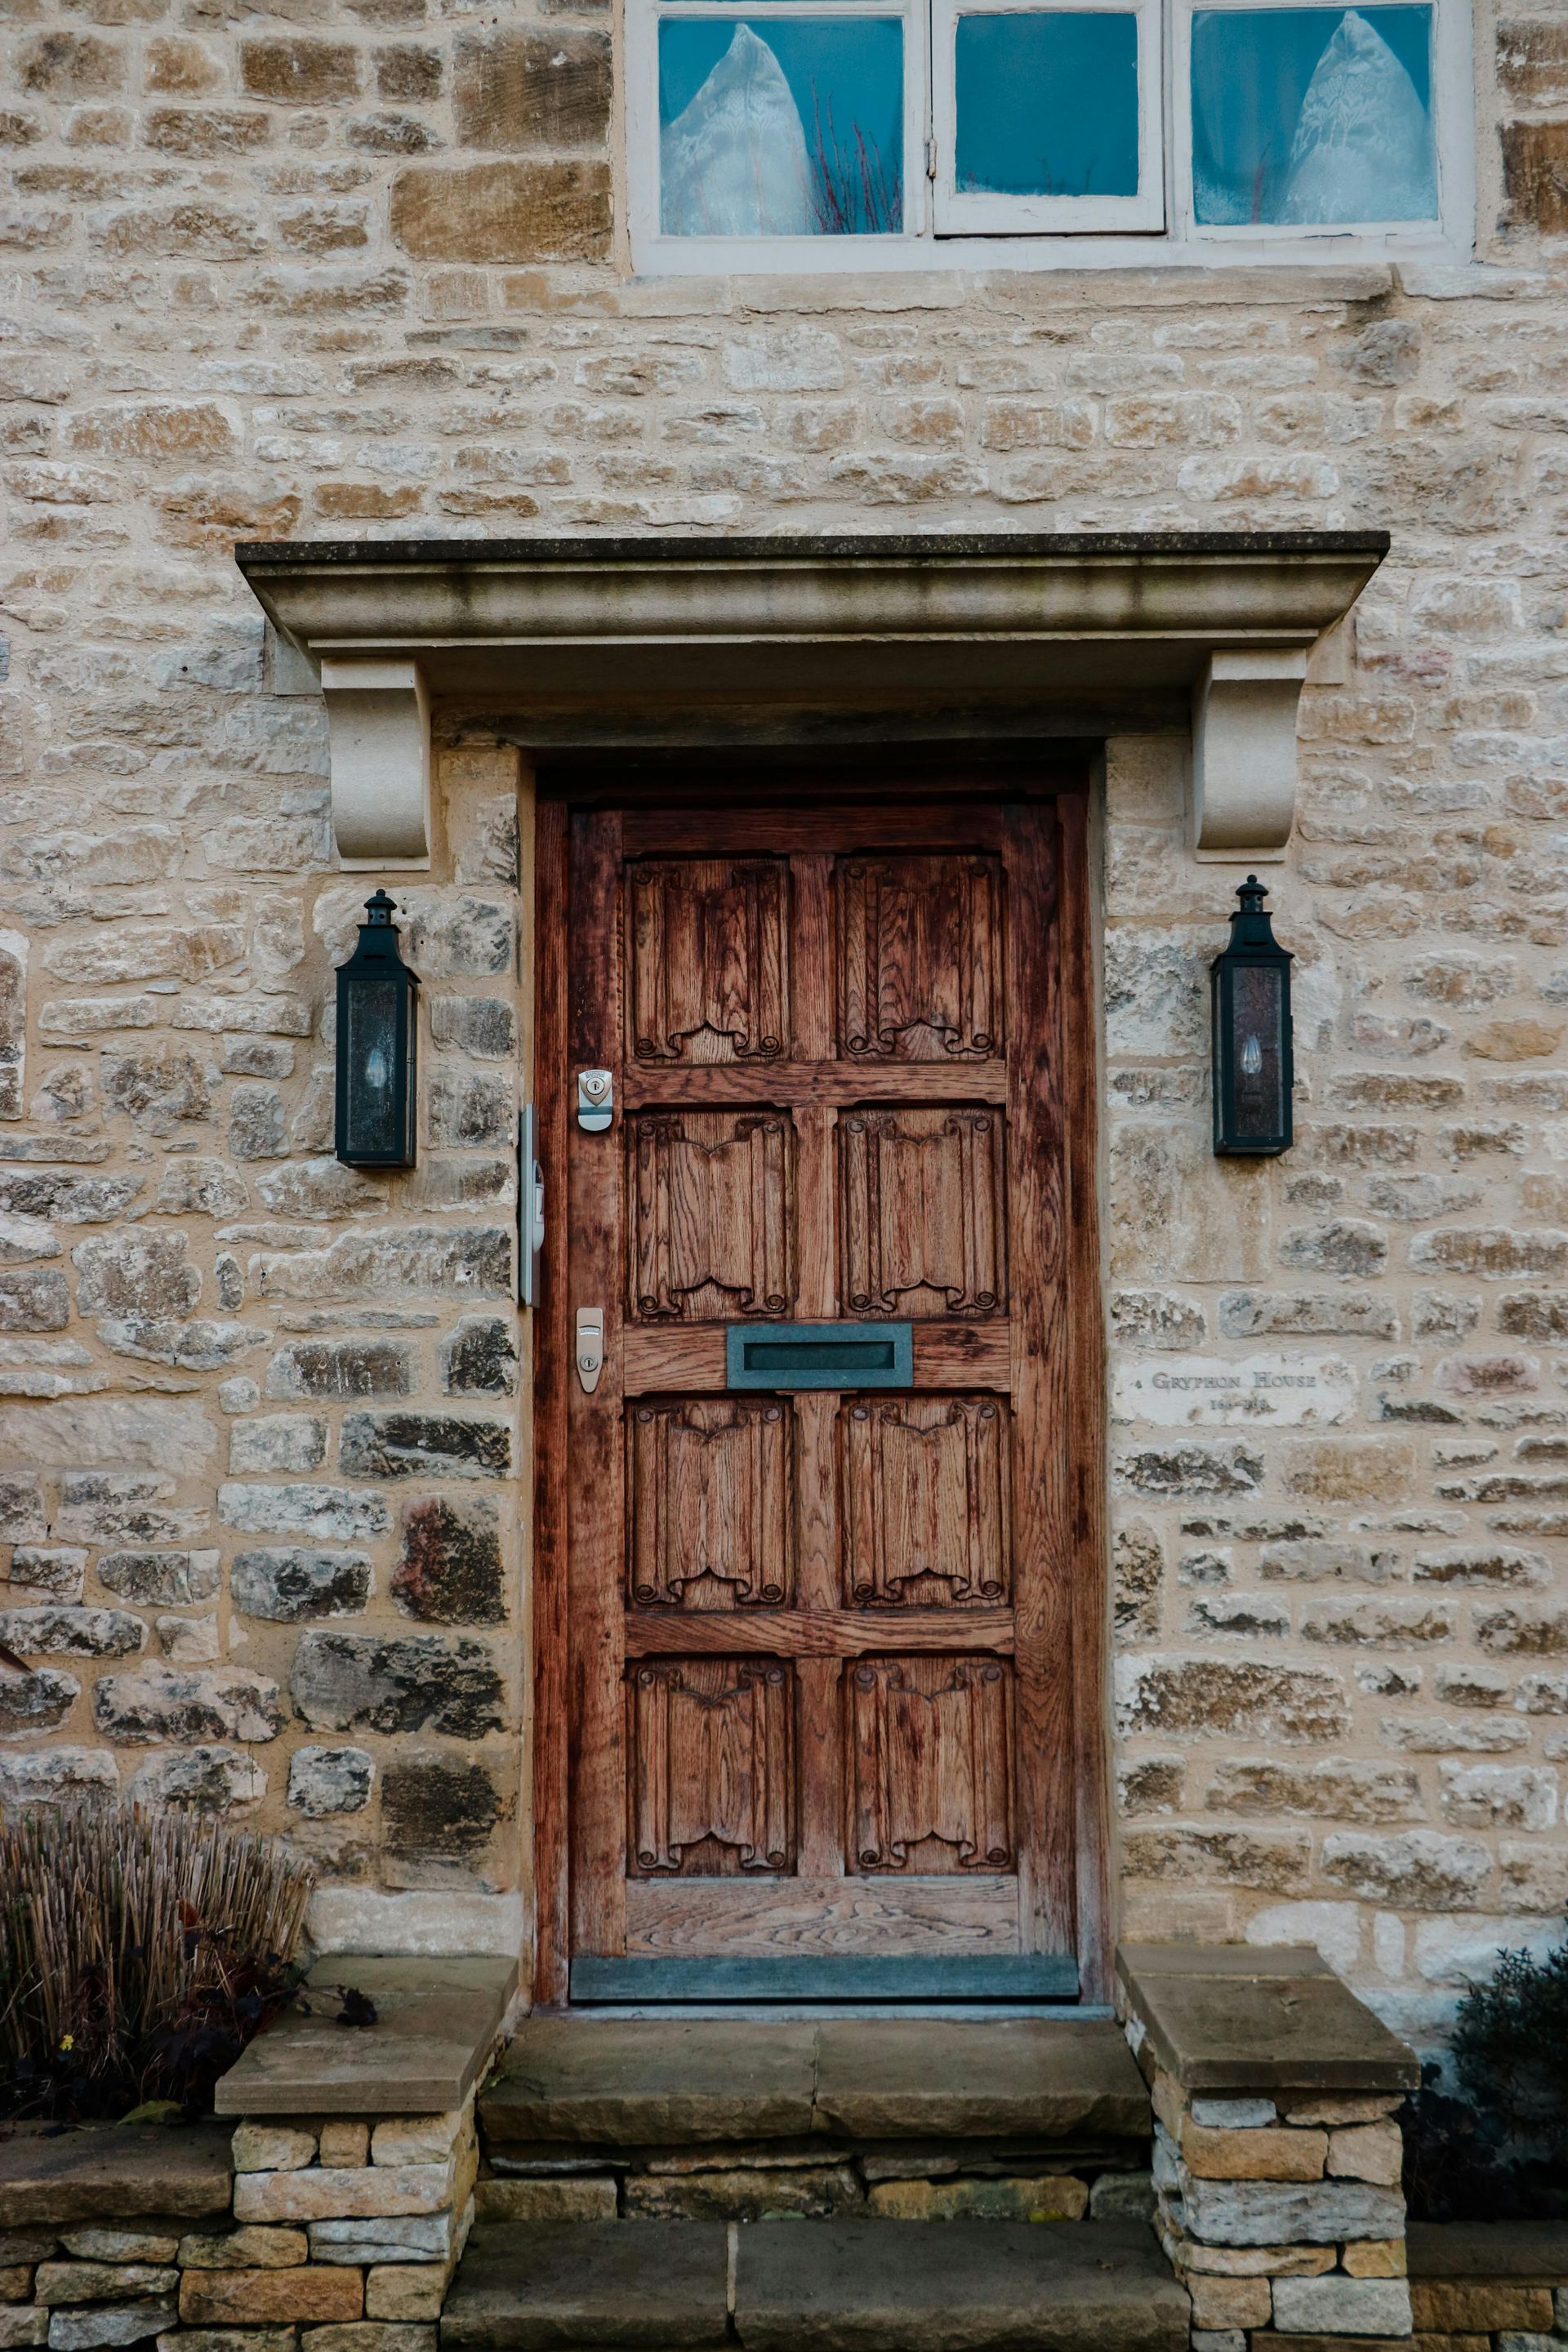
What's the Best Way To Paint an Interior Door?
You can spray a door, and many pros do, but that’s a whole different discussion. Spraying requires very specific skills, tools, and experience, otherwise it can be a messy disaster.
Assuming you’re going to opt for the classic brush and roller instead, here’s a quick recap of how to tackle the job:
- Priming: Apply a primer to ensure even color coverage and stronger paint adhesion. Then let it dry, thoroughly…
- Painting: Begin with the edges and details, using a brush for precision. For flat surfaces, use a small roller to avoid brush marks. Apply paint in thin, even coats.
- Drying: Wait for the paint to dry completely before applying the next coat.
Common mistakes to avoid? Rushing the drying process and applying paint too thickly. Patience is the name of the game here, trust us.
4 Pro Tips To Keep in Mind
Follow these rules and you’ll be way ahead of the curve:
- Rule 1: Ensure your work area is well-ventilated, both to help with drying time AND to protect your health. Air circulation is definitely your friend.
- Rule 2: Opt for multiple thin coats rather than a single thick coat to prevent drips and ensure a smooth finish.
- Rule 3: Allow the paint to dry fully between coats to avoid tackiness and achieve optimal durability. We’ll risk being repetitive to make sure we drive this point home.
- Rule 4: Reattach hardware only after the paint has fully cured to avoid smudges and keep that clean, professional look.
And here’s one more bonus tip: use the best paint products you can. Higher-quality formulas really do make a difference: they last longer, look better, and are easier to work with.
Keep Your Doors Pristine
Once they’re painted, the hardware is on, and the doors are hung, it’s time to go into maintenance mode. A little ongoing TLC goes a long way, keeping your doors beautiful and helping to extend the lifespan of all that hard work.
Clean them gently with a soft, damp cloth to remove fingerprints and dust. For touch-ups, use the same paint used originally to ensure a perfect match. If you hire a professional house painter, they should leave you with the leftovers, or if you tackle a DIY project you definitely will have some to keep in storage. Just make sure you label the can for easy future reference.
FAQs
Q. How long should I wait before reattaching the hardware?
Wait at least 24 hours after the final coat to ensure the paint is cured.
Q. Can I paint over any door material?
Yes, but the preparation steps may vary. For example, non-wood doors may require specific primers for better adhesion.
Q. How do I avoid paint drips and brush marks?
Use thin coats and a high-quality brush or roller. Also, sand lightly between coats to smooth out imperfections.
Q. Is it necessary to use a primer?
Yes, primer helps with paint adhesion and coverage, especially if you’re making a drastic color change.
Q. How often should interior doors be repainted?
It depends on wear and tear. Generally, doors need a fresh coat every 5 to 7 years, but high-traffic doors may need it sooner.
If you’d like assistance painting your doors, we’d love to help. Call us at 541-967-8900 or
request a free estimate today!