Drywall and Plaster Repair Guide
Last Updated: March 7, 2017
Some people are naturals when it comes to home repairs. They never seem to need a measuring tape and nail everything the first time. These skilled handymen can fix pretty much anything that comes across their path. The rest of us fail spectacularly from time to time, and we either have to redo the entire thing or call in an expert.
We’re telling you this because repairing drywall and plaster isn’t very difficult to fix or install in theory. But, as many years of experience has taught us, messing up is easier than repairing.
In this short guide, we will go over a few basics. First things first, let’s talk safety.
The Weight of the Drywall : Depending on the damage, you might have to buy one or more sheets of drywall. Keep in mind that one sheet weighs almost two pounds/square foot, so things can get out of hand quickly if you are not careful.
Beware of the Dust : Wear a dust mask when grinding to avoid inhaling silica and gypsum particles. Remember that sanding dust is a respiratory irritant. Use a cloth or damp sponge to dust off the wall and clean the area.
Now that you know some safety tips and what you need before you start, let’s move on to the actual steps for repairing drywall.
- First, make sure you have the right tools. Here is some equipment you will need: dust mask, vacuum, utility knife, pencil, a wall repair patch, tape measure, joint compound, water-based primer, joint knife, sanding block and a paintbrush.
- Before starting to fix, you must clear any loose debris and remove any dangling pieces of plaster or drywall.
- Take off the liner from the wall patch, place it over the damaged area and press firmly to seal the corners.
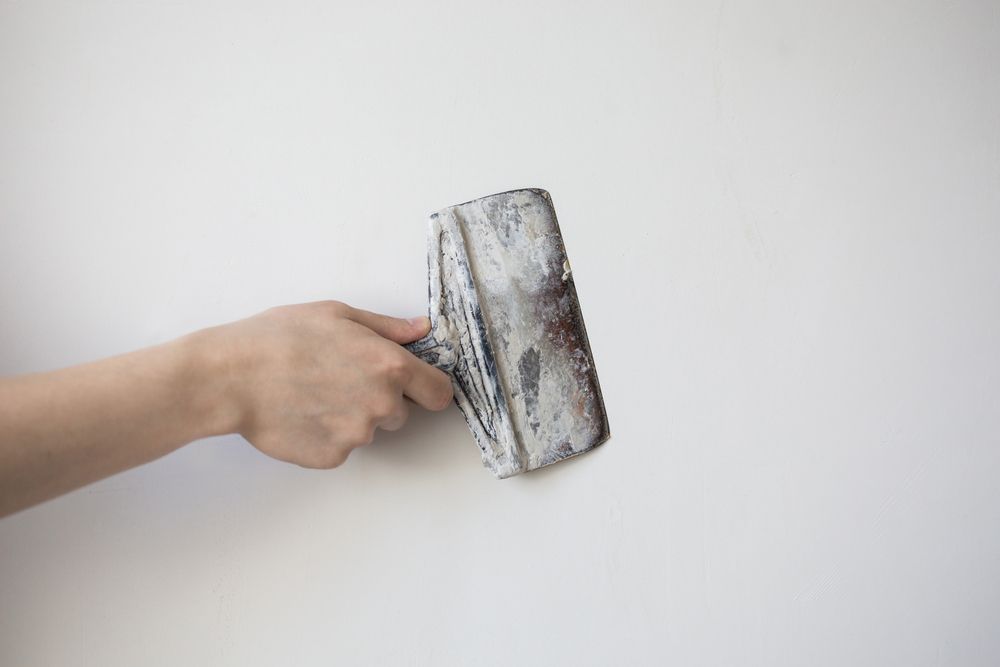
- Now, it’s time to apply the first layer of joint compound. Let it sit until it dries completely.
- Sand the area and then apply a second coat of compound.
- Time for some more sanding. Repeat these last two steps until you are satisfied with the result.
- The last step is to paint with a water-based primer and let it dry before going with the paint color.
The process described above describes a “best case scenario,” so it would be pretty hard to make any mistakes. However, if the damage is significant you should probably keep in mind the following tips:
- Battered Corners: If you are dealing with this problem, the first thing you’ll need to do it to remove the metal. Then, use a lever to clear away the damaged section. Mark the length of the new corner bar by holding it in place. After you have cut the new piece of the corner bead, fix it in place with nails. The last step is to add a few coats of drywall compound using a taping knife.
- Creeping Cracks: Start by smoothing the cracks with an abrasive foam block. Apply a thin coat of joint compound to the damaged area and sand it until smooth. In the end, apply an elastic crack spray to set everything in place.
- Soggy Ceilings: First, apply a stain sealing primer. Then apply a blend of drywall compound thinned with water. After it has dried, add texture with a brush.
Repairing drywall and plaster isn’t necessarily difficult. However, there’s no shame in admitting that you aren’t a natural born handyman and call in an expert to fix it for you. Don’t hesitate to contact us
if you want a hand!