
The 5 Most Important Things to Know About Interior Painting

Last Updated: September 15, 2018
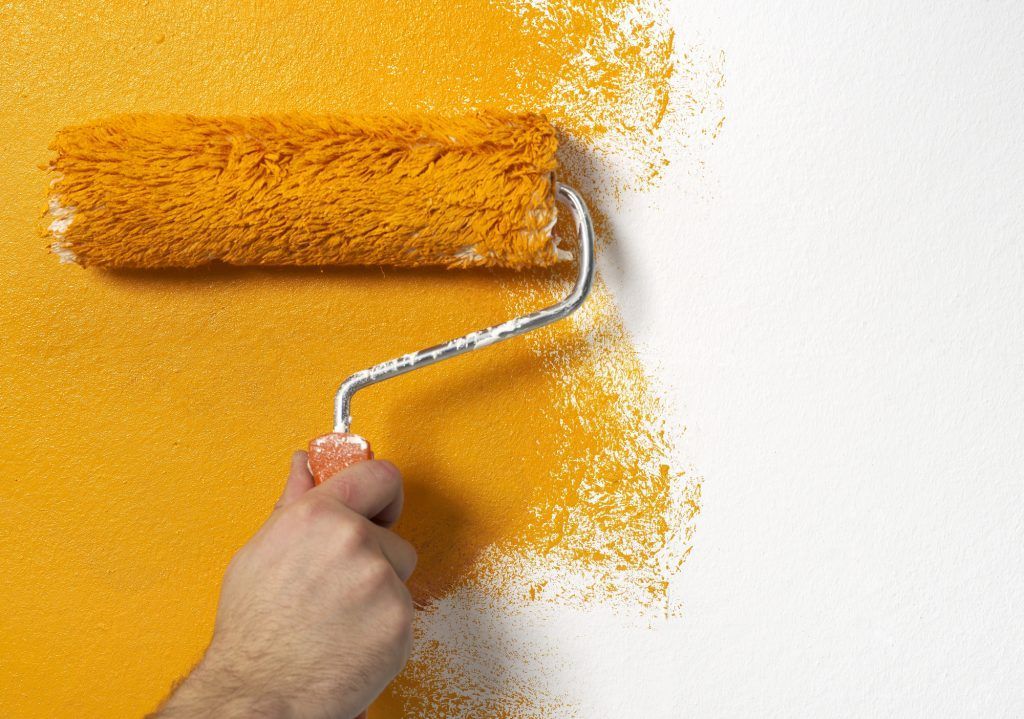
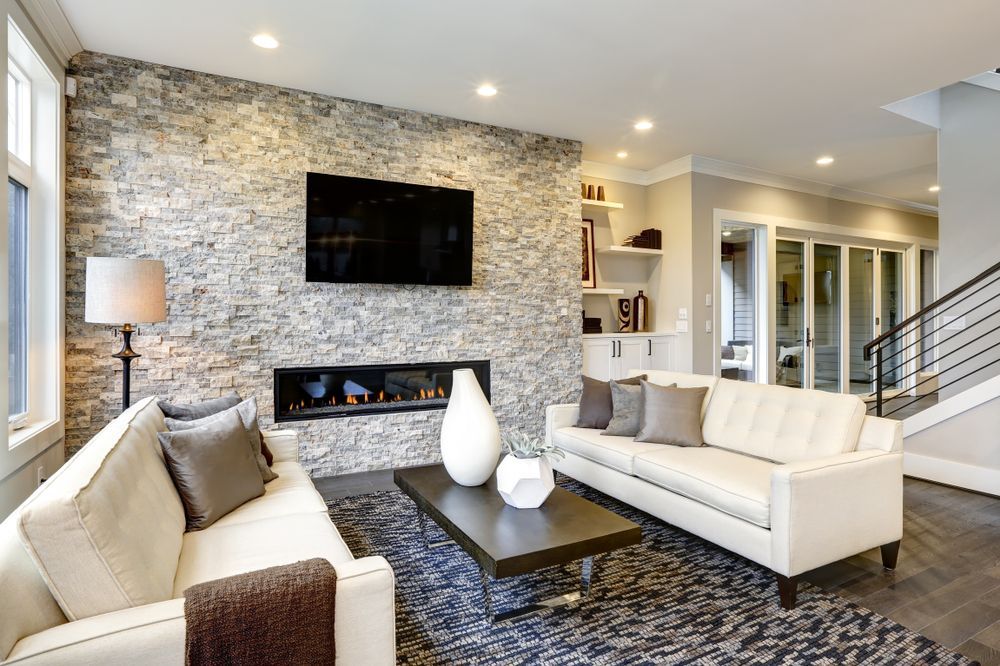
Fewer things will change the character of a room like giving it a fresh coat of paint.

Before you pick up the brush or roller, however, there are a few essential things you need to know about interior painting.

These five tips will help you understand what it takes to be an interior painting professional!

1. Clean the Walls and Room

It may sound like common sense, but you want the room and all the surfaces you intend to paint to be clean before you begin.

You don’t want to paint a wall that’s dirty, dusty, or has cobwebs because the paint may not stick that well to it. Even if the walls of your room look clean, years of dirty particles can build up on the surfaces and can’t be seen with the naked eye.

Give every surface you want to paint a good dusting first, then clean with a sponge, warm water, and mild detergent. Go over with clear water and then allow to dry for at least 24 hours before painting.

Clear the room of all or as much furniture as you can. Thoroughly protect the floors and anything you can’t remove  with old sheets or drop cloths. Tape off all areas you don’t want the paint to touch such as window trims and light switches.

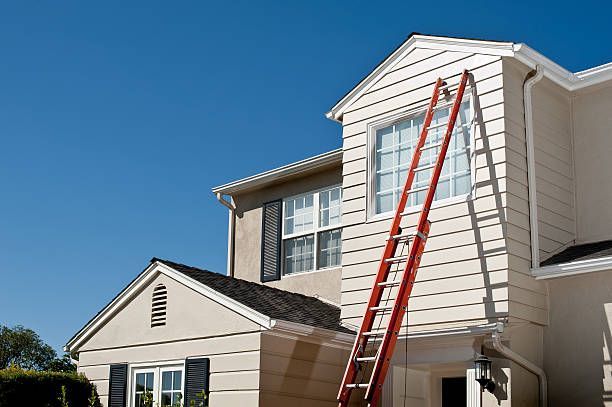
Make sure you also pick up essential painting supplies such as a ladder, paint trays, and paint can openers.

2. Don’t Underestimate Priming

Priming the walls is an often overlooked step, but an essential one to guarantee a smooth, even coating. It gives the paint something to grip to and can cut down on the amount of paint you need. Primer is also good to use if you’re planning on painting a lighter color over a dark one.

This step should be done after the walls have been cleaned and allowed to dry, and after you’ve evened out the surface by filling in any cracks or openings. If you’ve applied spackling to any areas, it’s imperative to prime the surface because paint tends to look shiny when applied to the spackling material.

Many paint manufacturers are now making self-priming paints which allow you to skip the priming step and save time. One thing to keep in mind about these products is they tend to be thicker and  also pricier than regular paints.

3. Test Paint Samples

Here’s the fun part. Pick up paint samples of a few shades you’re interested in and paint a small square here and there. Try to observe how it looks at different times of the day and if possible, in natural light or when the sun’s rays hit it.

Don’t be afraid of making a mistake when settling on the right shade. Even if you regret your choice later on, all you have to do is choose a new color and paint over the old one.

4. Calculate What You Need

To avoid overspending or having to return to the store to order more paint (a risky move since every mixed can is slightly different) use a paint calculator to determine exactly how many cans you need.

If it’s possible, mix your cans to avoid any slight imperfections that can be caused by two or more cans of the same shade.

5. Apply and Dry Interior Paint Properly

Make sure your brushes and rollers are clean and lint-free. You can use tape to remove any loose fibers that could make its way into your paint.

Use a brush to paint the nooks and crannies that a roller can’t reach such as the corners and baseboard. Then paint the remaining areas with a roller.

How long it takes the paint to dry depends on whether it’s a latex-based or oil-based paint. The former will dry faster, in about four hours, while an oil-based paint needs between six and eight hours to dry.

Whether to use one or two coats is a matter of preference. Some people think two layers provides a smoother, more even finish. If you’ve chosen a color that’s close to what’s currently on the wall, you may be able to get away with one coat.

Interior Painting – Our Services

We specialize in interior painting as well as exterior painting, remodeling, and more. If you’d like some help bringing new life to your home’s inside, contact us for a free estimate.

September 4, 2026
See what it takes to paint a large apartment building in Eugene, Oregon. Go behind the scenes of Fitzpatrick Painting & Construction's Franklin Apartments exterior painting project.
August 27, 2026
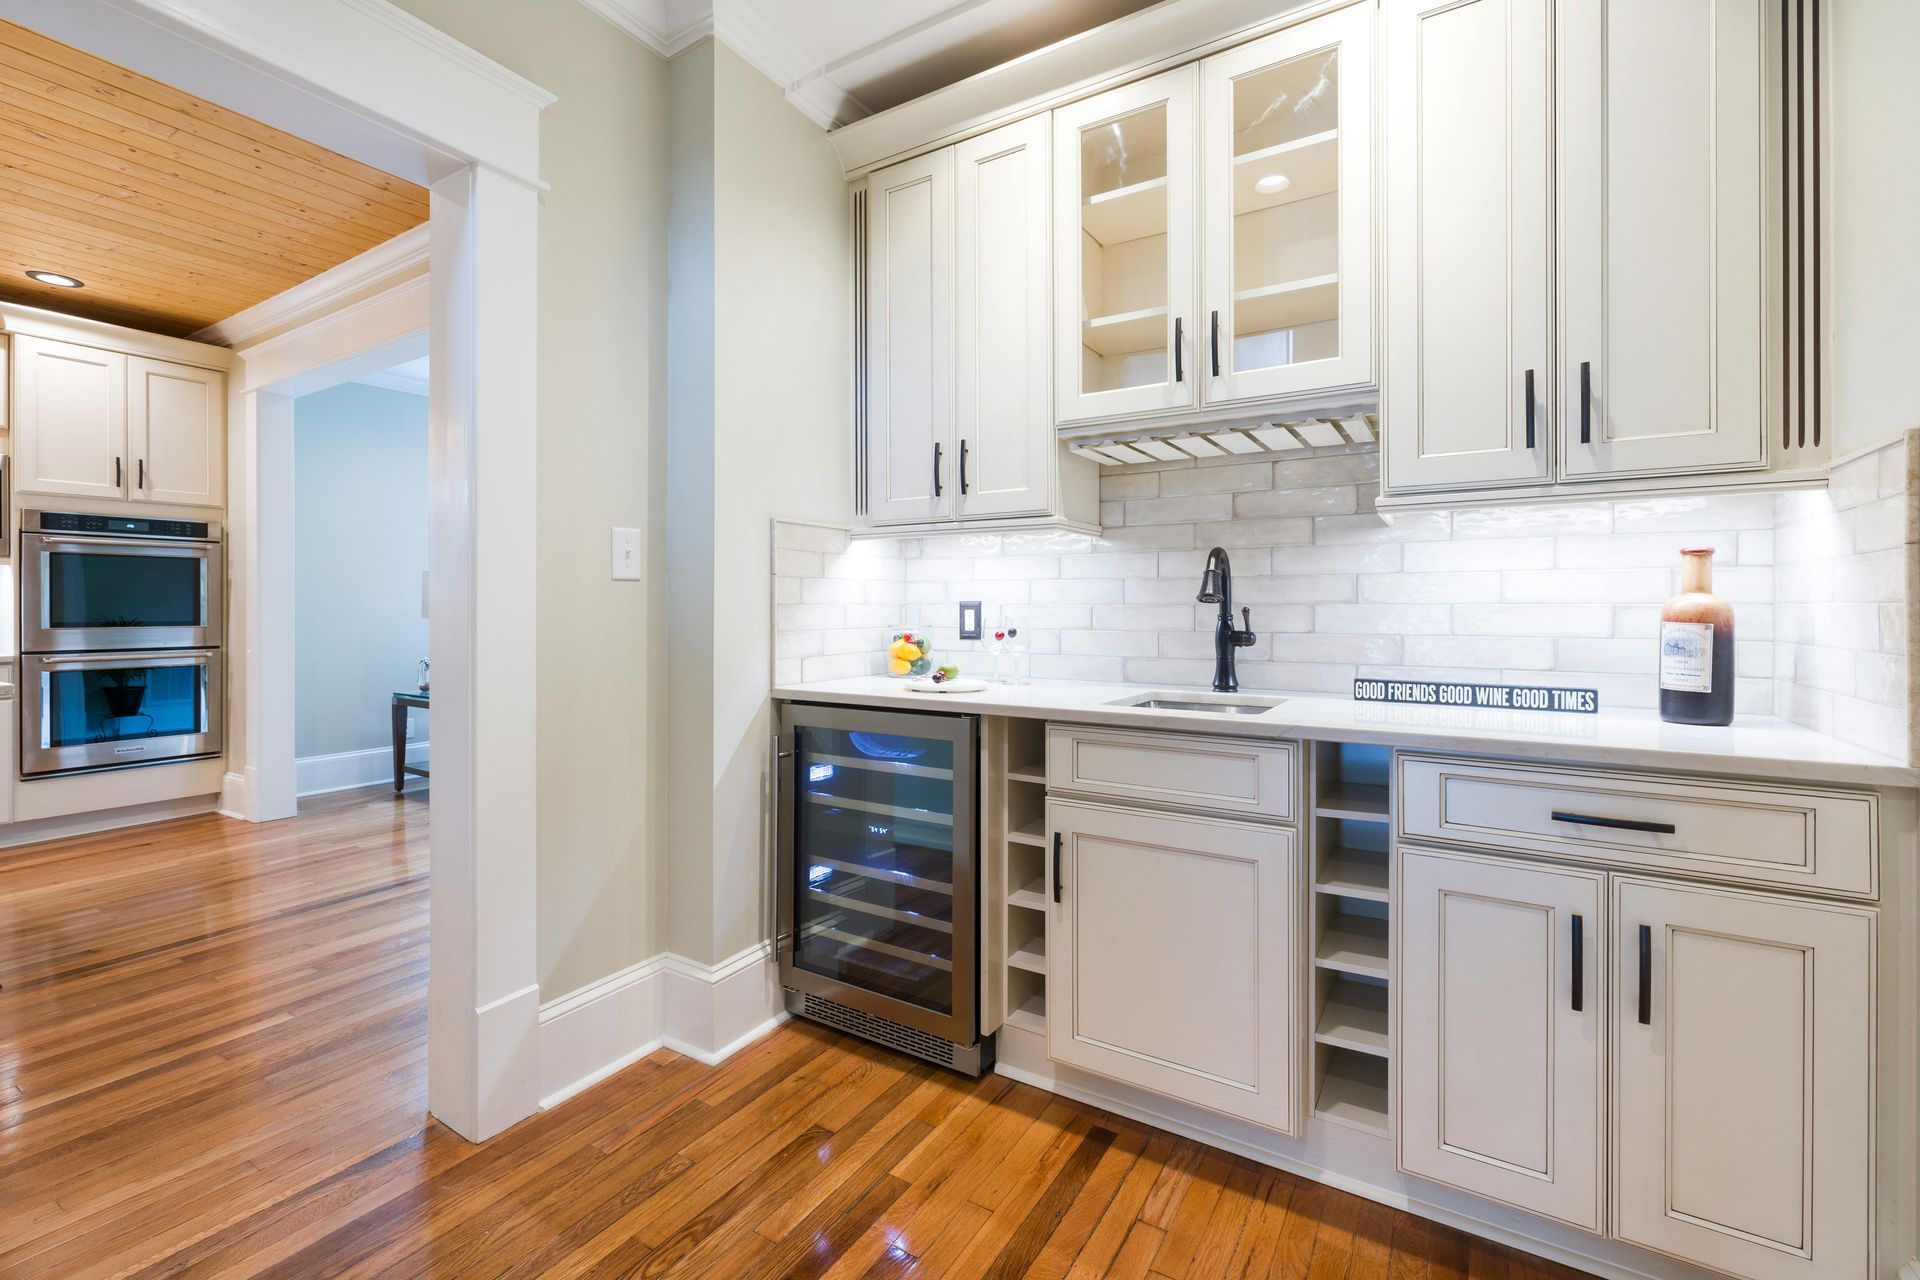
Wondering how long painted kitchen cabinets really last? Learn what affects their lifespan and how to keep your Willamette Valley kitchen looking great.
August 25, 2026
Repainting a home in an HOA? Learn what to check before you start, including approved colors, architectural review requirements, timelines, and contractor documentation.
August 13, 2026
Should you paint before or after installing new flooring? Learn the best project order for walls, ceilings, floors, baseboards, trim, and final touch-ups.
July 30, 2026
How long does a paint job last? Learn typical interior and exterior paint lifespans in the Willamette Valley and what factors help your paint last longer.
July 14, 2026
Looking for an interior painter in Salem? Use this checklist to compare contractors, ask the right warranty questions, spot red flags, and hire with confidence.
June 30, 2026
Planning interior painting for a Portland condo or townhome? Learn color, lighting, ventilation, HOA, and scheduling tips before starting your project.
June 30, 2026
Learn why some Salem homes need more exterior paint prep due to older siding, peeling paint, moisture damage, mildew, and Oregon weather.
June 30, 2026
Learn how Eugene’s rainy season affects exterior painting, including prep, drying time, scheduling, and how professionals plan around wet weather.
June 30, 2026
Older wood siding can give a Corvallis home a lot of character, but it also needs the right care before repainting. If your siding looks faded, peeling, cracked, or weathered, paint may help restore its appearance and protection. However, older wood siding should be checked for moisture damage, failing paint, soft wood, and proper prep needs before any new coating is applied. Painting over problems does not make them go away. In many cases, the most important part of the project happens before the first coat of paint goes on. A careful inspection, thorough prep work, and the right exterior painting process can make a major difference in how long the finished result lasts. Why Older Wood Siding Needs Extra Attention Before Painting Older wood siding does not behave the same way as newer siding materials. Wood can absorb moisture, expand, contract, crack, and show signs of age in ways that are not always obvious from a distance. A home may look like it only needs fresh paint, but once the surface is cleaned and inspected, there may be soft boards, open seams, or areas where old paint is no longer bonded well. This is especially important for older homes in Corvallis and the surrounding Willamette Valley. Many houses in the area have been through years of rain, shade, damp winters, and seasonal temperature changes. Over time, those conditions can wear down paint and expose the siding underneath. Before repainting, homeowners need to know whether the siding is still sound enough to hold paint properly. How Corvallis Weather Affects Wood Siding Corvallis weather can be tough on exterior wood. Wet winters, damp spring conditions, tree cover, and moss-prone areas can all speed up paint failure. Even when a home looks fine during the drier months, moisture may have already worked its way into weak spots around trim, lower siding, windows, or shaded walls. The shaded sides of a home often show wear sooner than areas with better sunlight and airflow. North-facing walls, areas under trees, and spots near landscaping may stay damp longer after rain. That extra moisture can lead to peeling paint, mildew growth, swollen wood, and surface damage. Because of this, painting older wood siding in Corvallis is not just about choosing a new color. It is about making sure the siding is dry, stable, and properly prepared for long-term protection. Signs Your Wood Siding Needs More Than a Quick Repaint A quick repaint may improve the look of a home for a short time, but it will not solve deeper siding problems. If the paint has failed because of moisture, rot, poor prep, or damaged wood, the same issues can come back after the new paint is applied. Before repainting older wood siding, homeowners should look for signs that repairs or extra prep may be needed first. Peeling Paint That Keeps Coming Back If the same areas keep peeling year after year, there is usually a reason. Repeated peeling can point to trapped moisture, poor previous prep work, or an older coating that is no longer bonded well to the siding. Simply painting over those areas may cover the problem temporarily, but the new paint may fail again if the surface underneath is not properly scraped, sanded, primed, and prepared. Peeling paint is especially common around areas that hold moisture, such as lower walls, window trim, and shaded sides of the house. These spots should be checked carefully before repainting. Soft Wood Near Trim or Lower Siding Soft wood is a warning sign that should not be ignored. Areas near the bottom of walls, windows, doors, and trim are often more vulnerable because water can collect, splash back, or enter through gaps. If the wood feels soft, swollen, crumbly, or weakened, paint will not fix it. Damaged wood should be repaired or replaced before painting. Painting over soft or rotted wood can trap moisture and make the problem worse. It can also shorten the life of the new paint job because the coating needs a solid surface to bond to. Cracks, Gaps, and Open Seams Cracks, gaps, and open seams allow moisture to get behind the siding or into trim joints. Over time, that moisture can lead to swelling, rot, peeling paint, and more repairs. These openings may be small, but they can have a big impact on how well the siding holds up after painting. Before paint is applied, failing caulking should be removed where needed, gaps should be sealed properly, and damaged areas should be addressed. This helps create a tighter exterior surface and gives the new paint a better chance to last. Why Prep Work Matters More on Older Siding Prep work is one of the biggest factors in how long an exterior paint job lasts, especially on older wood siding. If the surface is dirty, loose, glossy, damp, or damaged, new paint will not perform the way it should. Older siding often needs more detailed preparation because it may have layers of old paint, uneven surfaces, exposed wood, or problem areas that are easy to miss. A proper prep process may include washing the siding, removing loose paint, sanding rough edges, spot priming bare wood, sealing gaps, repairing damaged boards, and making sure the surface is ready for finish coats. These steps take time, but they are what help the paint bond correctly and protect the siding longer. Skipping prep may save time upfront, but it often leads to peeling, cracking, and repainting sooner than expected. Should Older Wood Siding Be Painted or Repaired First? Paint is designed to protect sound siding, not repair damaged siding. If the wood is still in good condition, a professional exterior painting project can help restore the home’s appearance and protect it from future weather exposure. But if there is rot, water damage, loose boards, or failing trim, those problems need to be addressed before painting. A professional inspection can help homeowners understand what the siding actually needs. Some homes only need minor repairs, targeted scraping, priming, and repainting. Others may need board replacement, trim repair, or more detailed prep before paint can be applied. Knowing this ahead of time helps avoid wasting money on a paint job that will not hold up.  For Corvallis homeowners, this is especially important because moisture-related siding issues can be easy to overlook until the surface is closely inspected. Getting the condition of the siding right first helps protect both the finished look and the home itself.
June 29, 2026
Choosing a kitchen remodel contractor? Learn what to look for, which questions to ask, and how to find the right professional for your Willamette Valley kitchen renovation.
June 15, 2026
Wondering if it's time for a bathroom remodel? Discover 6 common signs, from moisture problems and outdated fixtures to poor layouts and lack of storage, and learn when a remodel is the right investment.
More Posts