Can You Paint Over Wallpaper? Here's What You Need to Know

Last Updated: April 30, 2025
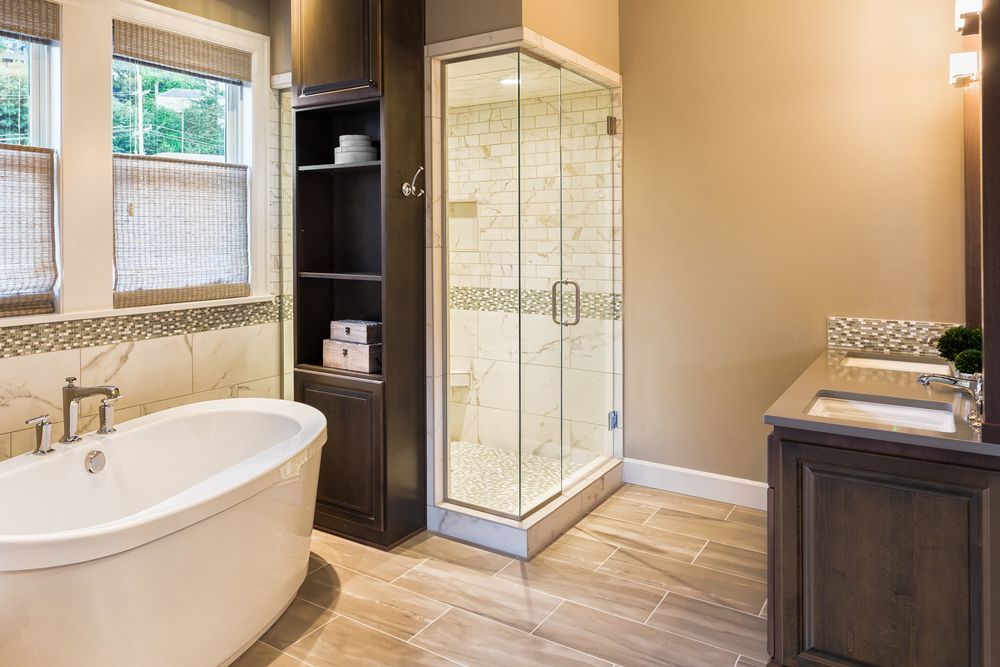
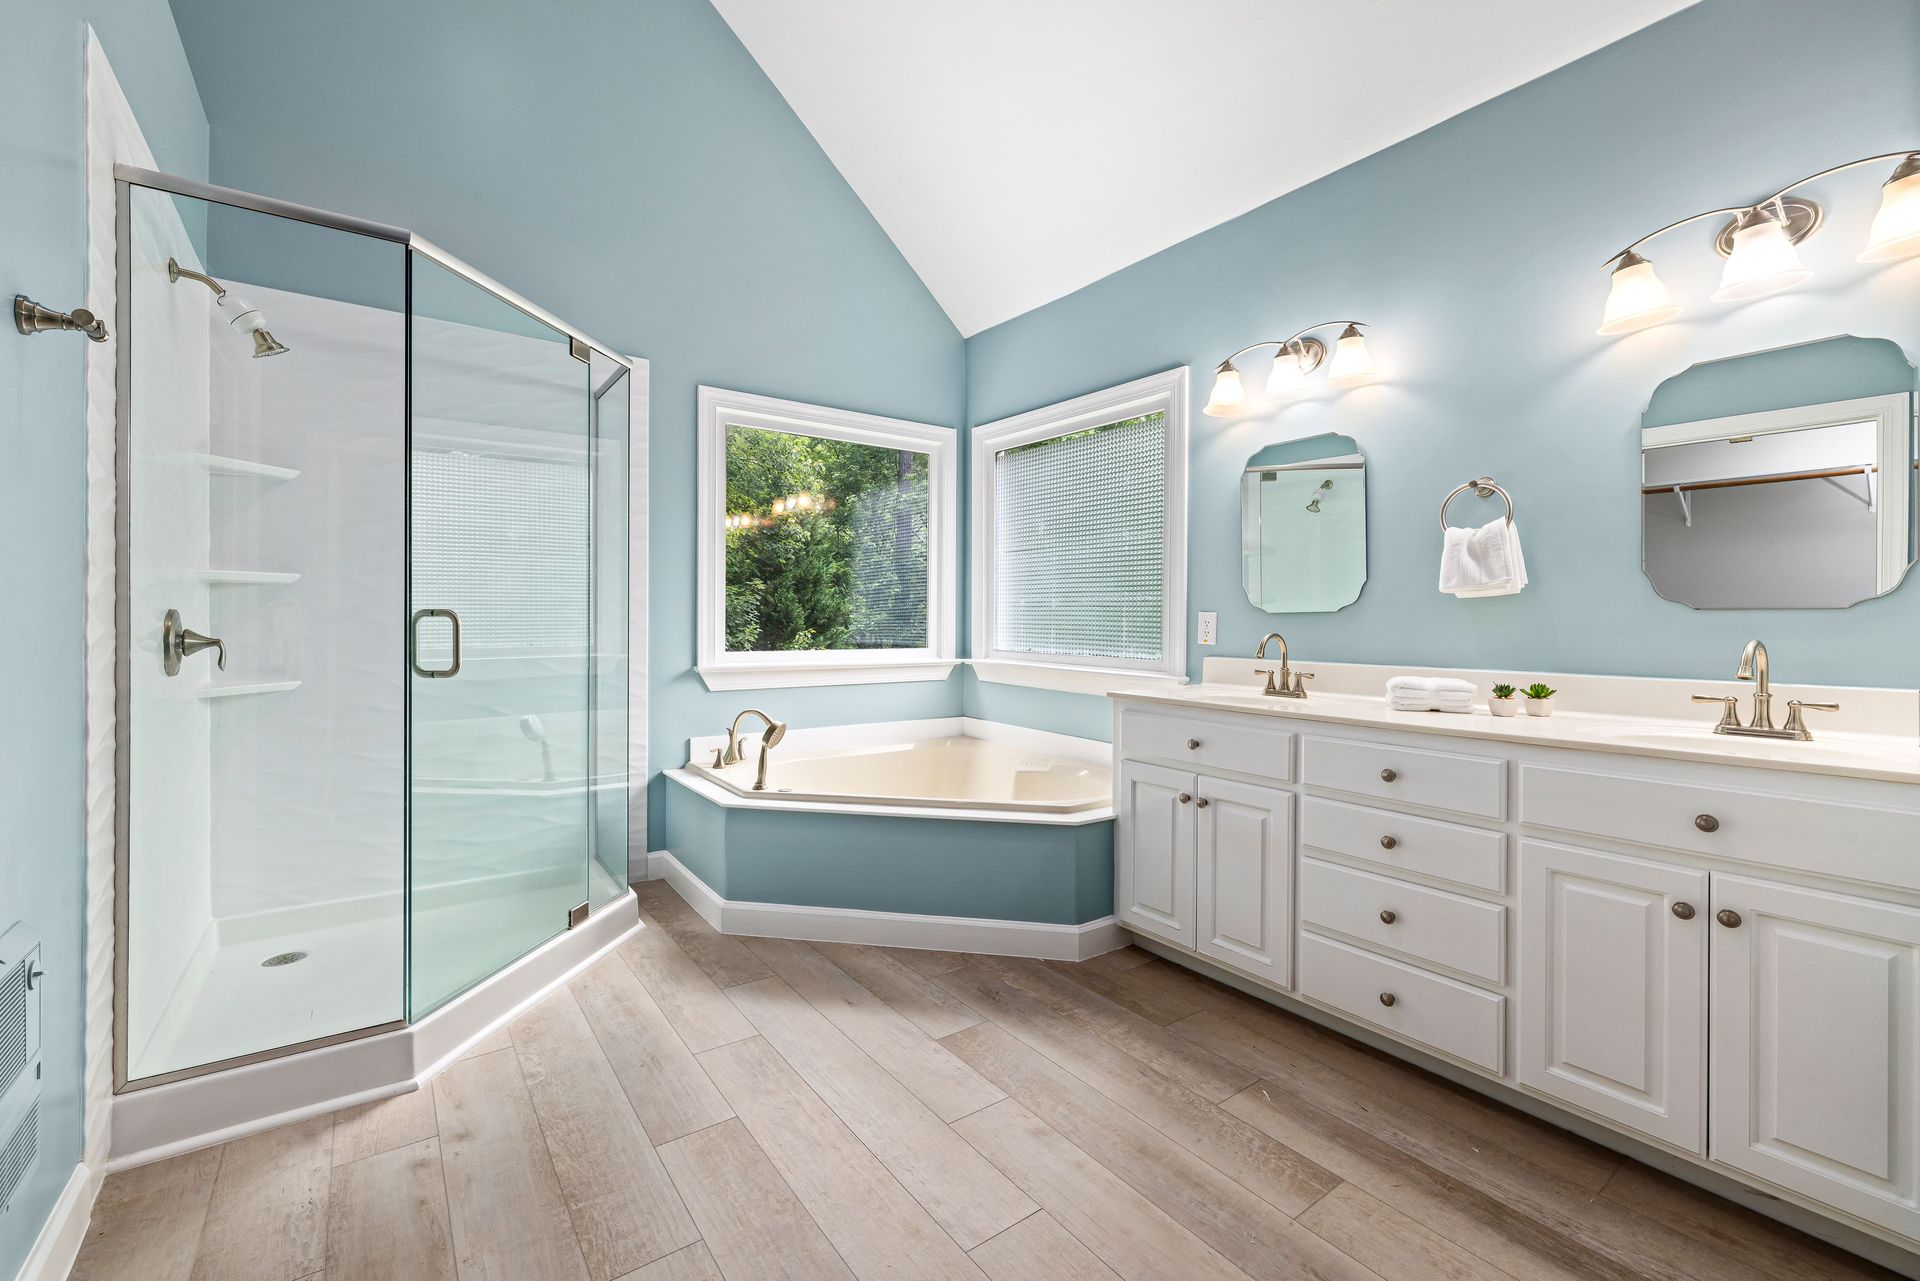
Bathroom with a white bathtub, glass shower, dark wood vanity, and built-in shelving.

Ah, wallpaper: the interior design gift that keeps on... lingering. Whether it’s a floral relic from decades past or a bold pattern that’s overstayed its welcome, the question inevitably comes up: “Can you just paint over it?”


Short answer: yes, technically you can paint over wallpaper—but that doesn’t always mean you should. If the wallpaper is in good shape, firmly stuck, and not textured like a popcorn ceiling, painting over it can be a decent temporary solution. That said, it’s not the gold standard for long-term results.


This guide walks you through the pros, cons, and "if-you-must" techniques of painting over wallpaper, plus smarter alternatives and removal tips. Whether you're a DIY diehard or just trying to freshen up a room before guests arrive, we’ve got you covered.


When Painting Over Wallpaper Might Work

While removing wallpaper is typically the better approach, there are situations where painting over it is a reasonable plan B.


Painting over wallpaper can work if the paper is in good condition: no peeling corners, bubbling, or major seams. Vinyl-coated wallpaper, which resists moisture, isn’t great for painting—but traditional paper-based wallpaper can accept paint fairly well. The key is to inspect every inch like you're prepping for a home makeover reality show. If it's firmly attached, smooth, and not textured like stucco, you’ve got a shot.


Also, consider your timeline. If you're doing a quick refresh for staging or don’t want to risk damaging old drywall, painting over wallpaper might buy you time. Just know that it’s a temporary fix—not a forever solution.
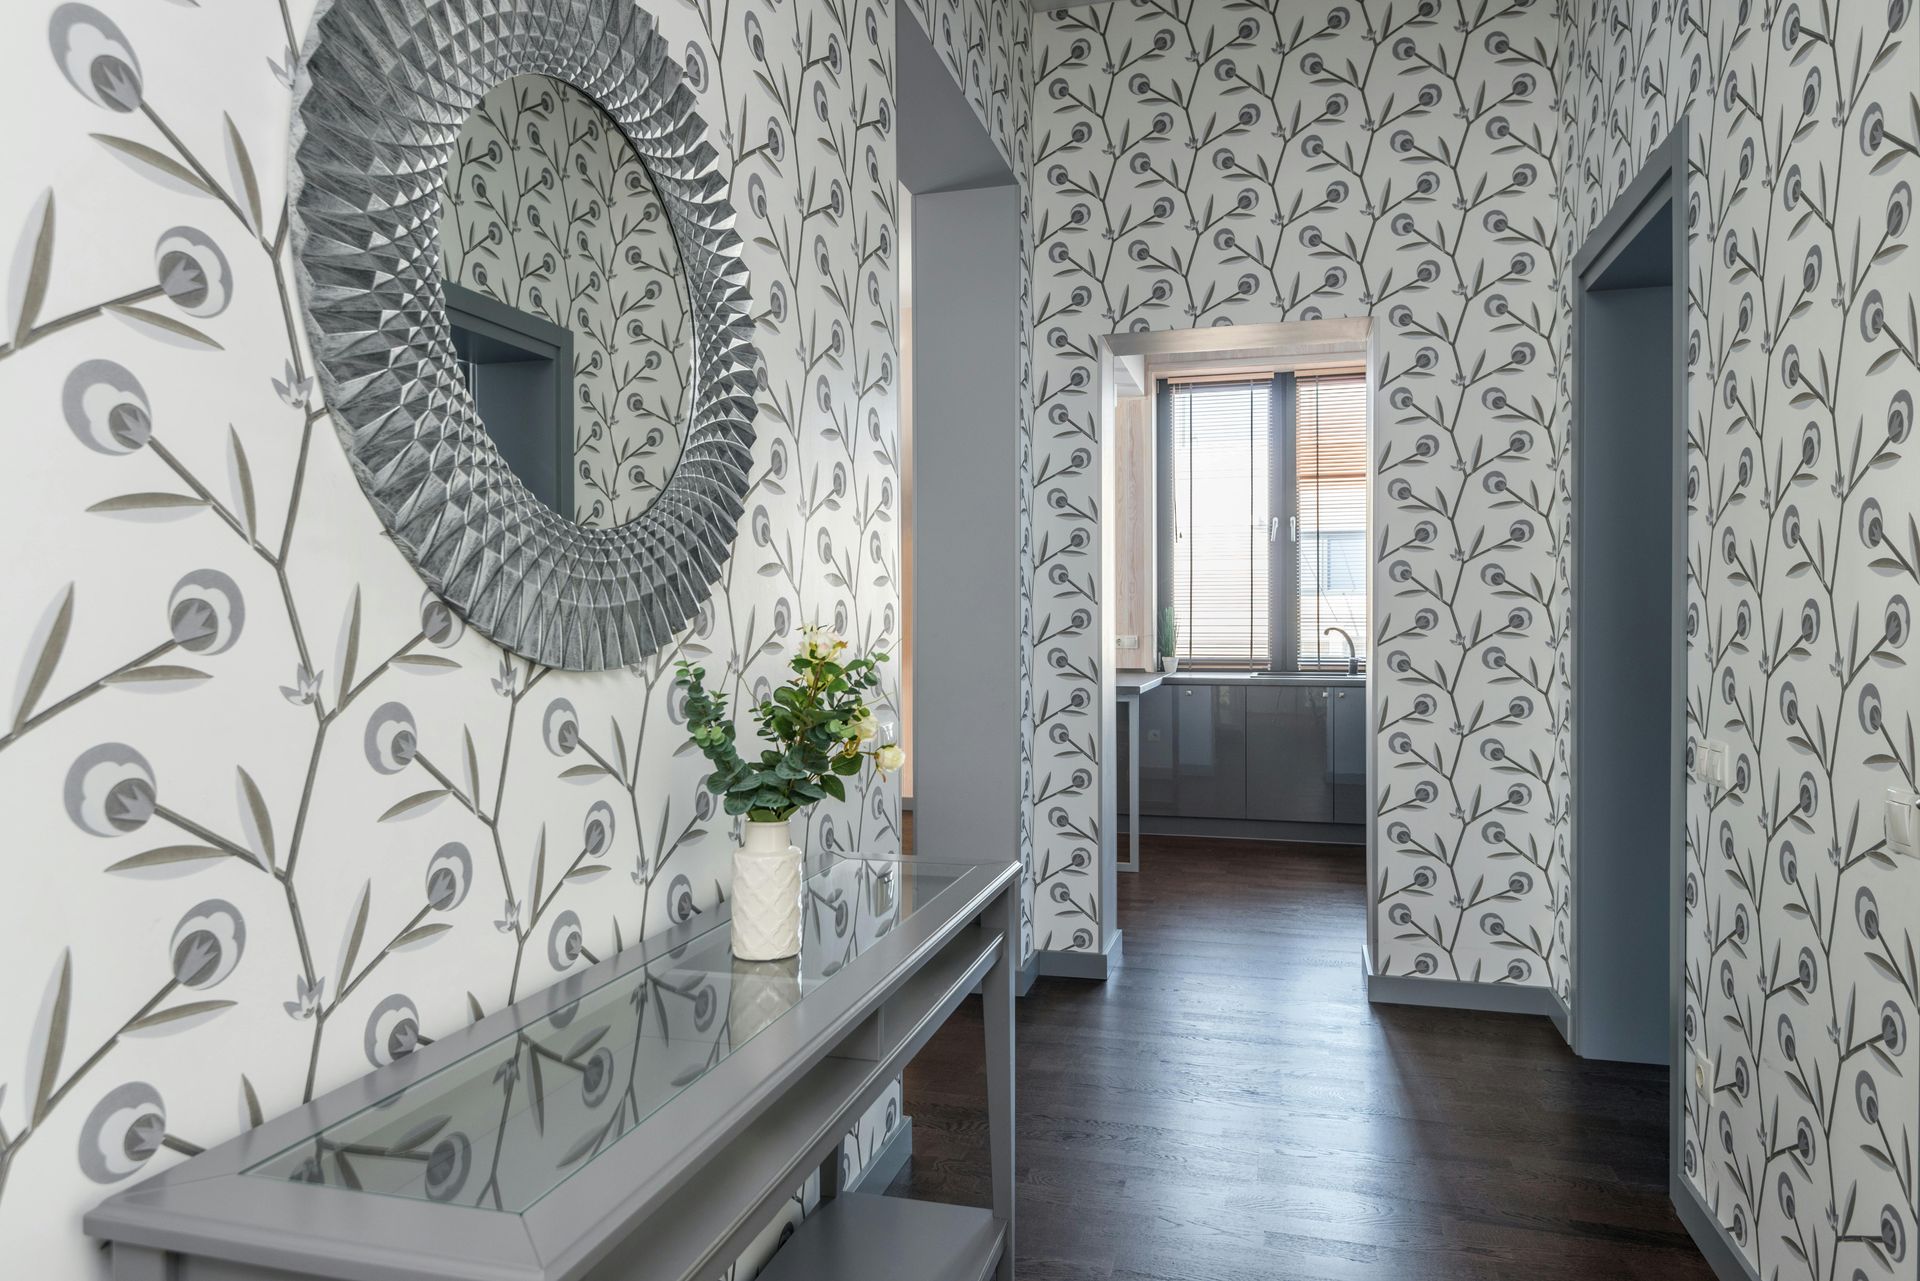
Narrow hallway with floral wallpaper, a mirror, and a console table.

How to Paint Over Wallpaper (If You Must)

Okay, so you’ve decided to live life on the edge and paint over that wallpaper. No judgment—just prep it like you mean it.


Preparing Wallpapered Surfaces

Start by cleaning the wallpaper thoroughly with a mild detergent solution to remove dust, grease, and any leftover regrets from wallpaper past. Once dry, fix any loose edges or bubbles with wallpaper adhesive, and use spackle to smooth over visible seams. Sand down glossy or raised patterns to reduce texture. The more seamless the surface, the better your paint will look.


Next comes the most important part: priming. This isn’t optional. A high-quality primer is your best

defense against bleed-through and peeling paint.


Best Primers and Paints to Use

When painting over wallpaper, oil-based or shellac-based primers are your best bet—they seal the surface and keep wallpaper adhesives from bleeding through. Water-based primers are too gentle here. Once primed, go with a satin or semi-gloss finish paint, which is more forgiving over imperfect surfaces and easier to clean than matte options.


You may need two coats, especially if you’re covering a pattern that looks like it escaped from an '80s soap opera.


Why Removing Wallpaper First Is Usually Better
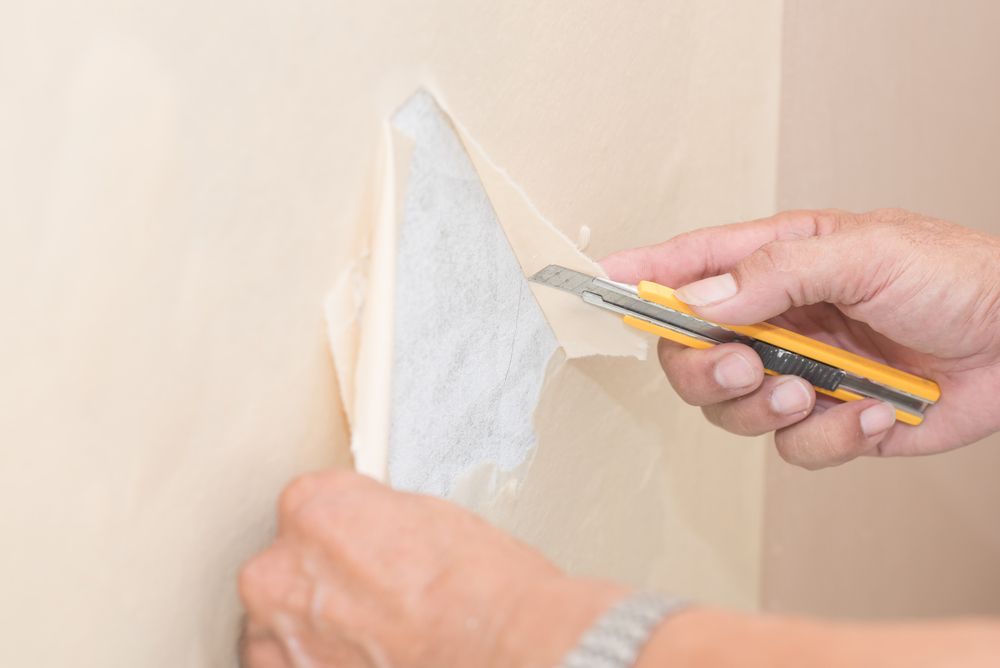
Hands peeling wallpaper, using a utility knife to cut away a section. Light tan wall.

Here’s the truth: if you want your new paint job to look smooth, last longer, and avoid weird texture or bubbling in the future, removing wallpaper is almost always the better option.


Peeling wallpaper can eventually pull paint off with it. Seams may show through, and textures don’t always hide well under paint—no matter how many coats you throw at it. Removing the wallpaper lets you assess the condition of the walls underneath, repair any damage, and get a clean, uniform surface ready for paint. It’s more work upfront, but it saves time, money, and sanity in the long run.


Effective Wallpaper Removal Techniques

Removing wallpaper used to mean steamers, scrapers, and every known symptom of stress—but modern tools and products have made things a lot easier.


Start by testing a corner: if it peels easily, you're in luck. If not, score the surface lightly with a wallpaper scorer, then apply a commercial wallpaper remover or a vinegar/water mix. Let it soak, then peel with a putty knife. Steamers can help for older, stubborn wallpaper.


DIY vs. Professional Removal

If your wallpaper was applied properly and your drywall is in good shape, you can probably tackle removal yourself with patience and elbow grease. But in older Oregon homes, or if you suspect multiple layers of wallpaper or fragile walls underneath, it might be time to call in professionals. They’ll get it done faster—and without turning your walls into Swiss cheese.


Alternative Solutions to Consider

Not ready to strip wallpaper or paint over it? Good news: there are creative in-between options that let you refresh your walls without committing to full removal.


Textured Wall Coverings

Instead of painting directly over wallpaper, consider skim-coating the surface to create a smooth texture or using Venetian plaster or limewash to disguise what's underneath. These techniques can deliver a high-end look while avoiding full removal.


Wainscoting and Wall Panels

Another stylish solution? Cover the lower half of the wall with wainscoting or decorative wall panels, then remove or paint the upper section. It adds architectural charm and gives you a fresh canvas—without the commitment of full wallpaper removal.

TV mounted on patterned wallpaper above a white floating shelf, with gold accents and brown curtain.

Professional Help for Your Wallpaper Project

Wallpaper issues can be deceiving. What looks simple often hides layers—literally. If you're unsure whether to remove or paint, a professional can assess the situation and steer you in the right direction. In the Willamette Valley, Fitzpatrick Painting & Construction has seen it all (yes, even the wallpaper with tiny sailboats). Whether you’re painting, stripping, or designing a creative workaround, they’ve got the tools and the know-how.


Frequently Asked Questions

Q: What types of paint colors work best over wallpaper—light or dark shades?
A: Dark shades hide patterns better, but they also highlight texture flaws. Light colors are more forgiving with surface imperfections but may need extra coats.


Q: How many coats of paint are typically needed when painting over wallpaper?
A: Usually two—one for coverage, one for consistency. If you’re covering a bold pattern, you may need a third for good measure.


Q: Will painting over wallpaper affect the insulation or soundproofing qualities of my walls?
A: Not in any meaningful way. The effect is negligible unless the wallpaper is super thick or part of a layered wall treatment.


Q: How do I address wallpaper borders when painting a room—should I remove just the border or all the wallpaper?
A: If the border is the only wallpaper in the room, you can try removing just that. But if it peels or damages the wall beneath, you may be better off removing everything for a consistent finish.


Q: What are the environmental considerations of removing versus painting over wallpaper?
A: Removing wallpaper often involves chemicals or disposable materials, while painting over it may trap adhesives or VOCs. Choose low-VOC primers and paints, and properly dispose of old materials to minimize your environmental footprint.

September 4, 2026
See what it takes to paint a large apartment building in Eugene, Oregon. Go behind the scenes of Fitzpatrick Painting & Construction's Franklin Apartments exterior painting project.
August 27, 2026
Wondering how long painted kitchen cabinets really last? Learn what affects their lifespan and how to keep your Willamette Valley kitchen looking great.
August 25, 2026
Repainting a home in an HOA? Learn what to check before you start, including approved colors, architectural review requirements, timelines, and contractor documentation.
August 13, 2026
Should you paint before or after installing new flooring? Learn the best project order for walls, ceilings, floors, baseboards, trim, and final touch-ups.
July 30, 2026
How long does a paint job last? Learn typical interior and exterior paint lifespans in the Willamette Valley and what factors help your paint last longer.
July 14, 2026
Looking for an interior painter in Salem? Use this checklist to compare contractors, ask the right warranty questions, spot red flags, and hire with confidence.
June 30, 2026
Planning interior painting for a Portland condo or townhome? Learn color, lighting, ventilation, HOA, and scheduling tips before starting your project.
June 30, 2026
Learn why some Salem homes need more exterior paint prep due to older siding, peeling paint, moisture damage, mildew, and Oregon weather.
June 30, 2026
Learn how Eugene’s rainy season affects exterior painting, including prep, drying time, scheduling, and how professionals plan around wet weather.
June 30, 2026
Older wood siding can give a Corvallis home a lot of character, but it also needs the right care before repainting. If your siding looks faded, peeling, cracked, or weathered, paint may help restore its appearance and protection. However, older wood siding should be checked for moisture damage, failing paint, soft wood, and proper prep needs before any new coating is applied. Painting over problems does not make them go away. In many cases, the most important part of the project happens before the first coat of paint goes on. A careful inspection, thorough prep work, and the right exterior painting process can make a major difference in how long the finished result lasts. Why Older Wood Siding Needs Extra Attention Before Painting Older wood siding does not behave the same way as newer siding materials. Wood can absorb moisture, expand, contract, crack, and show signs of age in ways that are not always obvious from a distance. A home may look like it only needs fresh paint, but once the surface is cleaned and inspected, there may be soft boards, open seams, or areas where old paint is no longer bonded well. This is especially important for older homes in Corvallis and the surrounding Willamette Valley. Many houses in the area have been through years of rain, shade, damp winters, and seasonal temperature changes. Over time, those conditions can wear down paint and expose the siding underneath. Before repainting, homeowners need to know whether the siding is still sound enough to hold paint properly. How Corvallis Weather Affects Wood Siding Corvallis weather can be tough on exterior wood. Wet winters, damp spring conditions, tree cover, and moss-prone areas can all speed up paint failure. Even when a home looks fine during the drier months, moisture may have already worked its way into weak spots around trim, lower siding, windows, or shaded walls. The shaded sides of a home often show wear sooner than areas with better sunlight and airflow. North-facing walls, areas under trees, and spots near landscaping may stay damp longer after rain. That extra moisture can lead to peeling paint, mildew growth, swollen wood, and surface damage. Because of this, painting older wood siding in Corvallis is not just about choosing a new color. It is about making sure the siding is dry, stable, and properly prepared for long-term protection. Signs Your Wood Siding Needs More Than a Quick Repaint A quick repaint may improve the look of a home for a short time, but it will not solve deeper siding problems. If the paint has failed because of moisture, rot, poor prep, or damaged wood, the same issues can come back after the new paint is applied. Before repainting older wood siding, homeowners should look for signs that repairs or extra prep may be needed first. Peeling Paint That Keeps Coming Back If the same areas keep peeling year after year, there is usually a reason. Repeated peeling can point to trapped moisture, poor previous prep work, or an older coating that is no longer bonded well to the siding. Simply painting over those areas may cover the problem temporarily, but the new paint may fail again if the surface underneath is not properly scraped, sanded, primed, and prepared. Peeling paint is especially common around areas that hold moisture, such as lower walls, window trim, and shaded sides of the house. These spots should be checked carefully before repainting. Soft Wood Near Trim or Lower Siding Soft wood is a warning sign that should not be ignored. Areas near the bottom of walls, windows, doors, and trim are often more vulnerable because water can collect, splash back, or enter through gaps. If the wood feels soft, swollen, crumbly, or weakened, paint will not fix it. Damaged wood should be repaired or replaced before painting. Painting over soft or rotted wood can trap moisture and make the problem worse. It can also shorten the life of the new paint job because the coating needs a solid surface to bond to. Cracks, Gaps, and Open Seams Cracks, gaps, and open seams allow moisture to get behind the siding or into trim joints. Over time, that moisture can lead to swelling, rot, peeling paint, and more repairs. These openings may be small, but they can have a big impact on how well the siding holds up after painting. Before paint is applied, failing caulking should be removed where needed, gaps should be sealed properly, and damaged areas should be addressed. This helps create a tighter exterior surface and gives the new paint a better chance to last. Why Prep Work Matters More on Older Siding Prep work is one of the biggest factors in how long an exterior paint job lasts, especially on older wood siding. If the surface is dirty, loose, glossy, damp, or damaged, new paint will not perform the way it should. Older siding often needs more detailed preparation because it may have layers of old paint, uneven surfaces, exposed wood, or problem areas that are easy to miss. A proper prep process may include washing the siding, removing loose paint, sanding rough edges, spot priming bare wood, sealing gaps, repairing damaged boards, and making sure the surface is ready for finish coats. These steps take time, but they are what help the paint bond correctly and protect the siding longer. Skipping prep may save time upfront, but it often leads to peeling, cracking, and repainting sooner than expected. Should Older Wood Siding Be Painted or Repaired First? Paint is designed to protect sound siding, not repair damaged siding. If the wood is still in good condition, a professional exterior painting project can help restore the home’s appearance and protect it from future weather exposure. But if there is rot, water damage, loose boards, or failing trim, those problems need to be addressed before painting. A professional inspection can help homeowners understand what the siding actually needs. Some homes only need minor repairs, targeted scraping, priming, and repainting. Others may need board replacement, trim repair, or more detailed prep before paint can be applied. Knowing this ahead of time helps avoid wasting money on a paint job that will not hold up.  For Corvallis homeowners, this is especially important because moisture-related siding issues can be easy to overlook until the surface is closely inspected. Getting the condition of the siding right first helps protect both the finished look and the home itself.
June 29, 2026
Choosing a kitchen remodel contractor? Learn what to look for, which questions to ask, and how to find the right professional for your Willamette Valley kitchen renovation.
June 15, 2026
Wondering if it's time for a bathroom remodel? Discover 6 common signs, from moisture problems and outdated fixtures to poor layouts and lack of storage, and learn when a remodel is the right investment.
More Posts