How Long Do Professionally Painted Kitchen Cabinets Last in Willamette Valley Homes?

Last Updated: August 27, 2026

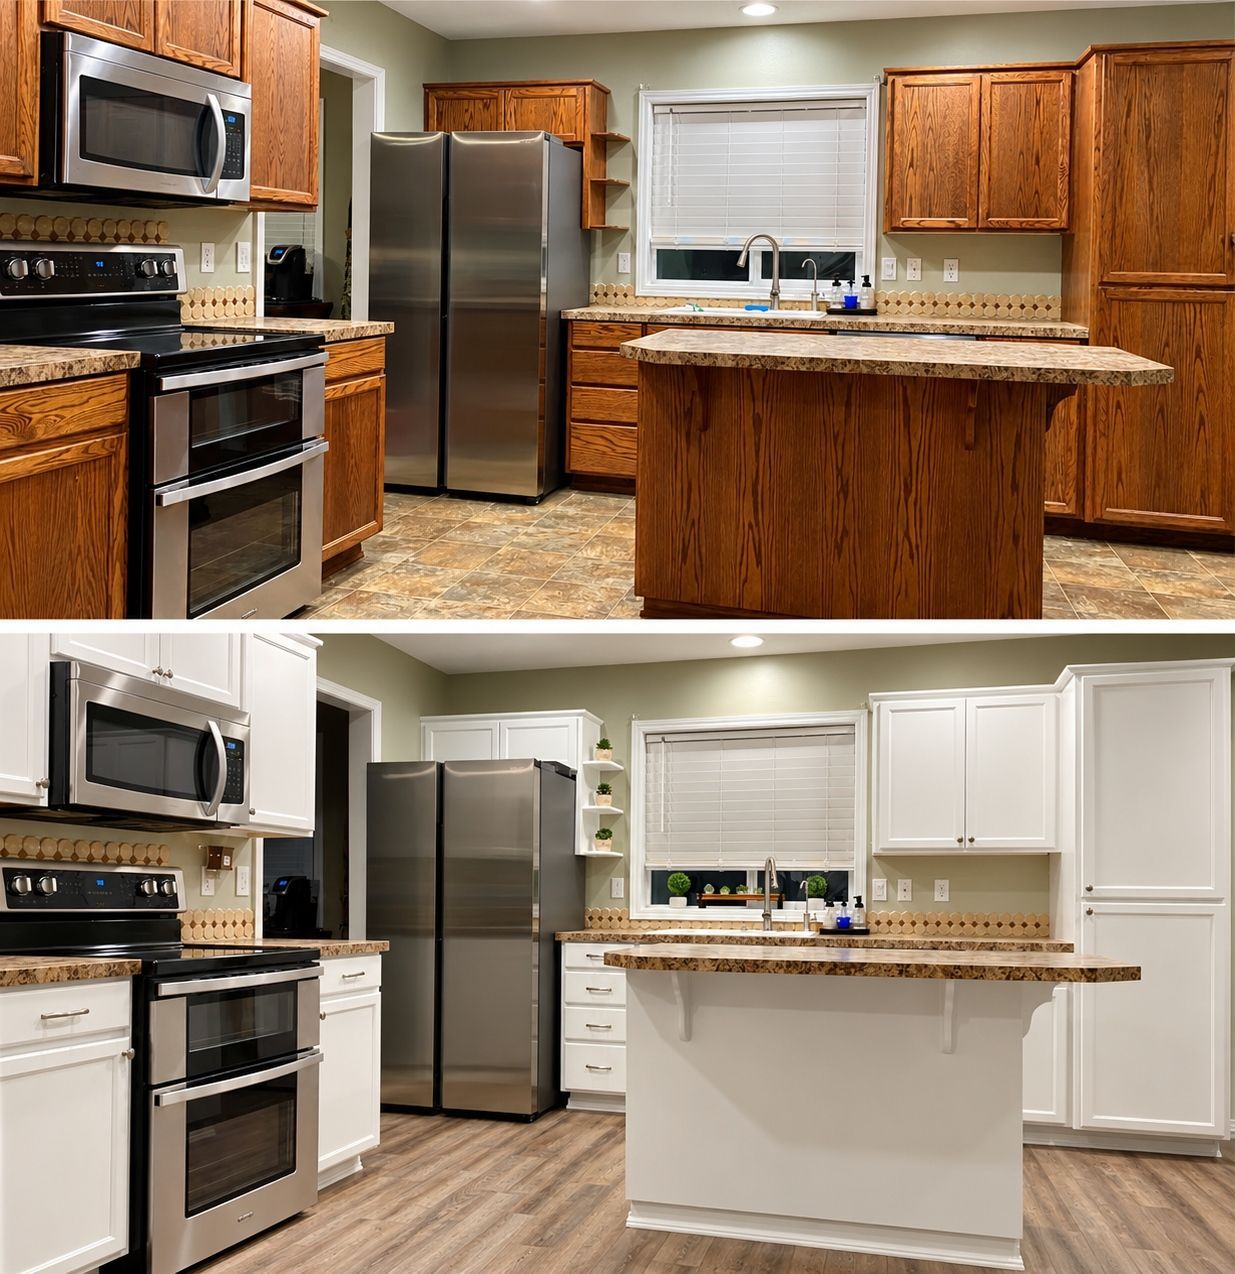
Painting your kitchen cabinets can completely change the look of your kitchen without completely changing your kitchen. But if you're going to invest in having it done professionally, there's an obvious question: How long is that beautiful new finish actually going to last?

Painted kitchen cabinets often last around 8-10 years or longer when the cabinets are properly prepared, painted with the right products, and cared for correctly.


But of course, that's not an expiration date stamped on the inside of your door. Some finishes last longer, while others begin showing wear sooner. The difference usually comes down to how the cabinets were painted, what condition they were in to begin with, and how much abuse your kitchen dishes out on a daily basis.

Get a FREE cabinet painting estimate!

Why Cabinet Painting Durability Depends on the Process

Painting cabinets is very different from painting a bedroom wall. Your walls generally have a pretty easy life. But cabinet doors? They get grabbed, bumped, splattered with spaghetti sauce, exposed to cooking grease, wiped down, and opened 10 times a minute during snack searches. That's why a durable cabinet finish depends heavily on the process behind it. Proper surface preparation, bonding primers, cabinet-grade coatings, professional application, and adequate curing time all help create a finish designed to withstand everyday kitchen use. A shortcut in any of those areas can shorten the lifespan of the finished product.
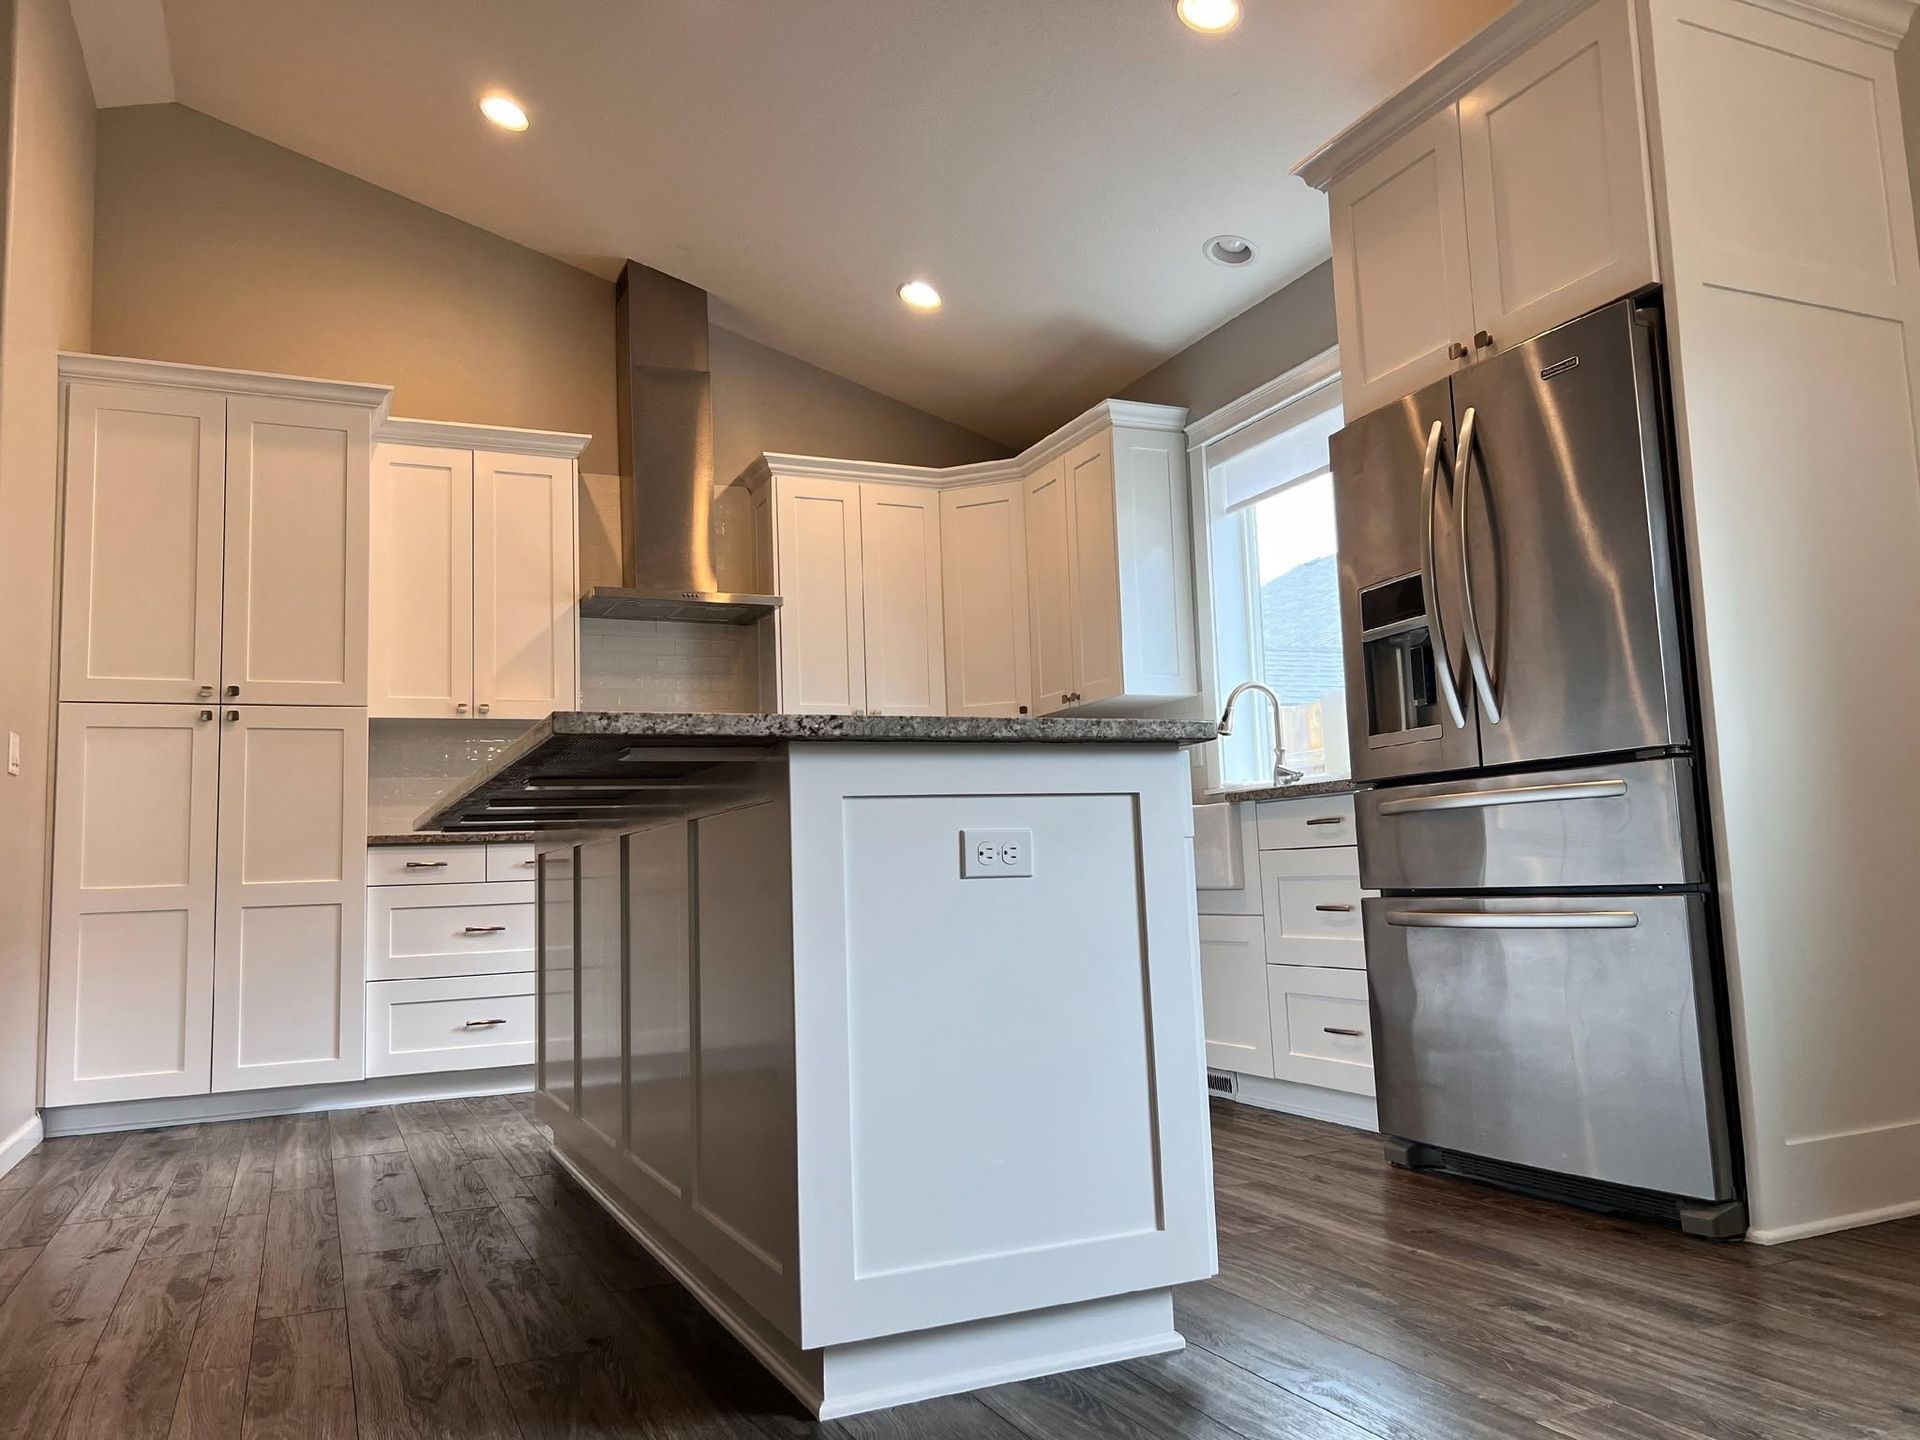
What Affects How Long Painted Cabinets Last?

There's no single lifespan that applies to every kitchen. In fact, several factors can determine whether your cabinets still look great years down the road or begin showing their age sooner.


Cabinet Condition Before Painting:

The best candidates for cabinet painting are cabinets that are still structurally sound. Loose or damaged doors, deteriorating surfaces, moisture damage, heavy grease buildup, or an old finish that's already failing may need attention before painting begins. A new coating can make an older cabinet look dramatically better, but it can't magically repair what's happening underneath it.


Evaluating the existing cabinets is an important first step.


Prep Work Before Paint:

If there's one place where shortcuts tend to come back and haunt a cabinet painting project, it's prep. Cabinets generally need thorough cleaning and appropriate sanding or deglossing before they're primed and painted. Small surface defects may also need to be repaired. The goal is to create a clean, stable surface that allows the new coating system to bond properly. Skip important prep, and even an expensive paint won't necessarily save the project. Peeling, chipping, and poor adhesion often have less to do with the color or brand of paint than with what happened before the paint ever went on.

Product Quality and Application:

Kitchen cabinets shouldn't simply be coated with whatever is left over from painting the walls. Cabinet-grade primers and coatings are formulated to create harder, more durable finishes capable of handling frequent contact and cleaning. Professional application also helps produce a smooth, consistent finish without unnecessary weak spots.

Daily Use and Cleaning Habits:

Not to get too personal, but lifestyle matters too. A lightly used kitchen in a two-person household may put considerably less wear on its cabinets than a kitchen full of children, pets, frequent cooking, and constant activity. High-contact areas around handles, trash pullouts, sinks, and cooking surfaces often show wear first. And let's not forget about cleaning habits (or the lack thereof). Gentle cleaning protects the coating, while abrasive scrubbers and harsh chemicals can gradually wear it down…even with good intentions. 
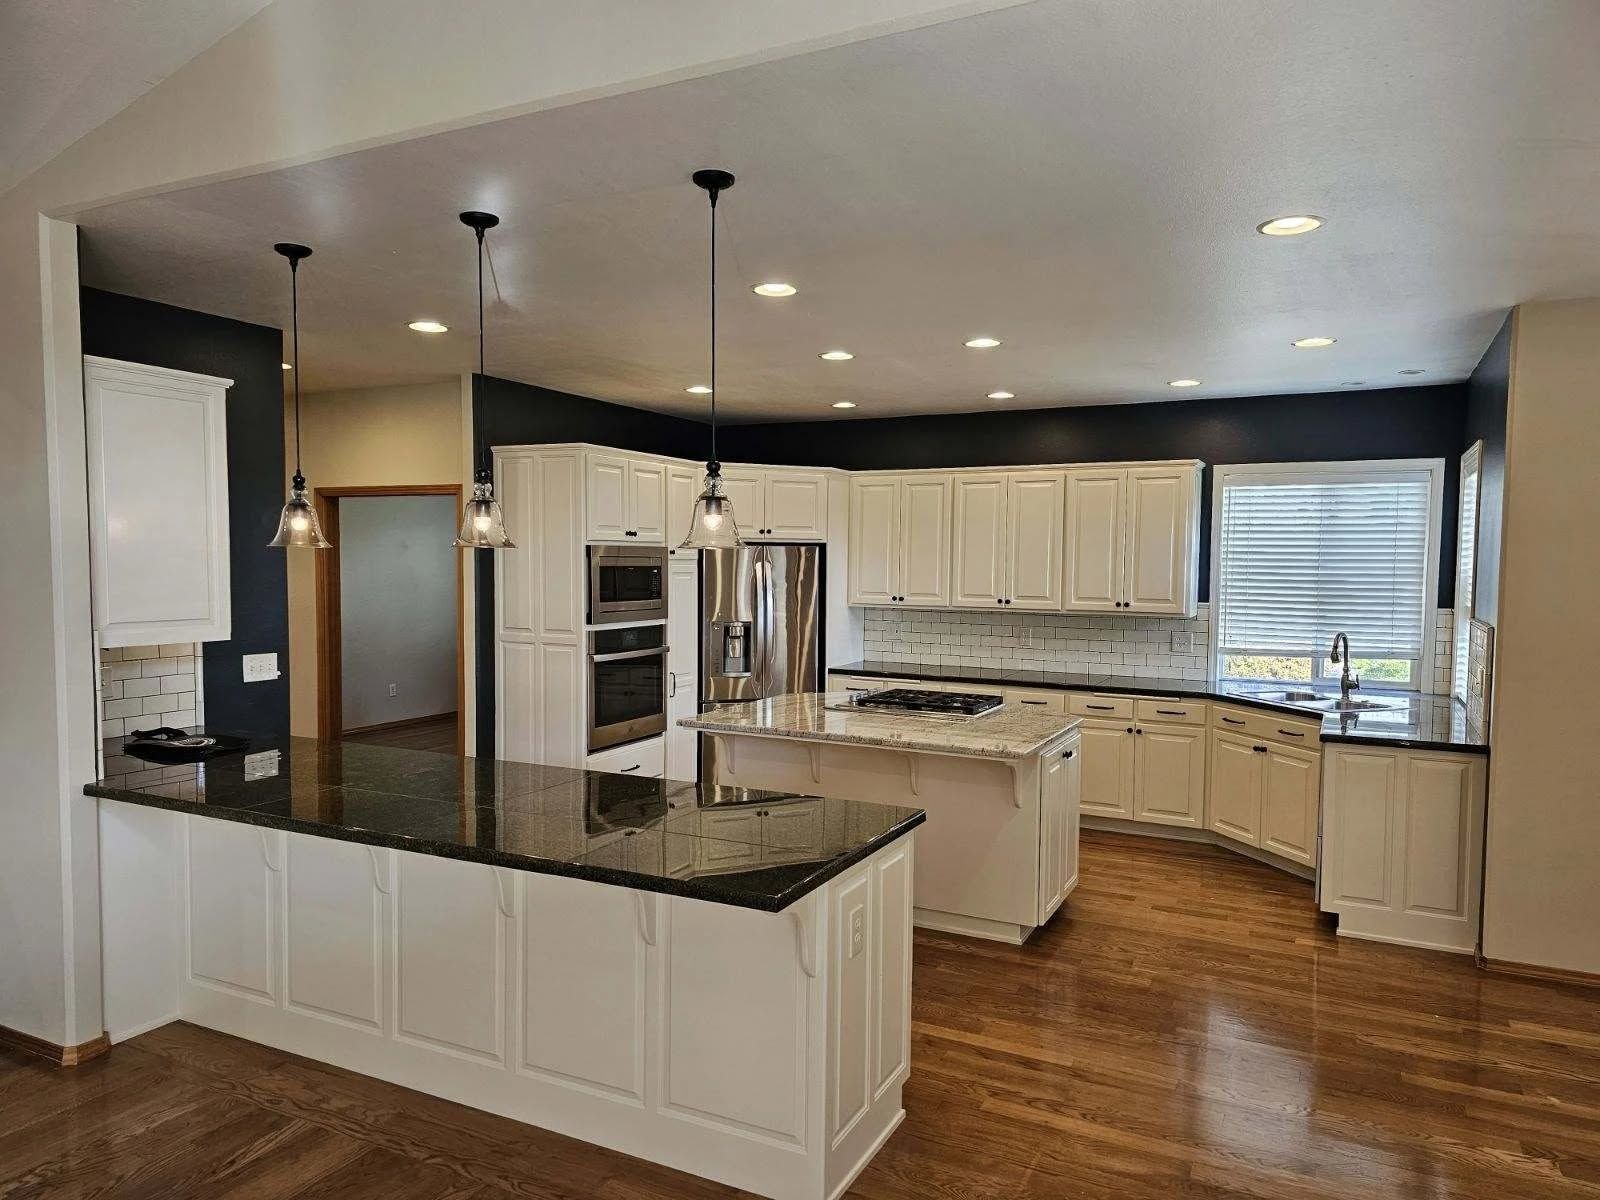
How Willamette Valley Homes Can Affect Cabinet Finishes

Here in the Willamette Valley, moisture is simply part of life. That doesn't mean our rainy winters are secretly plotting against your kitchen cabinets, but indoor humidity and ventilation can affect painted surfaces over time. Kitchens naturally generate moisture through cooking, dishwashing, and everyday use. Areas around sinks and dishwashers can be especially vulnerable if water is regularly left sitting on cabinet surfaces. Poor ventilation can add to the problem. A properly prepared and applied cabinet coating should handle normal household conditions well. Still, controlling excess moisture and wiping up water promptly can help protect the finish.

Signs Your Painted Cabinets May Need Attention

Normal wear doesn't necessarily mean your entire kitchen needs to be repainted. After years of use, it's reasonable for high-contact areas to show a little more age than the rest of the cabinets. Things worth watching for include:

  • Chipping or wear around knobs and pulls
  • Worn edges on frequently used doors and drawers
  • Peeling or lifting paint
  • Stains that no longer clean away easily
  • Sticky doors or drawers
  • Areas where the finish has become noticeably dull or damaged

A small worn spot may only need attention or a touch-up. Widespread peeling or adhesion problems, however, can indicate an issue with the coating or the surface underneath it.

How to Make Professionally Painted Cabinets Last Longer

Once your cabinets are painted, a little common sense goes a long way. Give the coating the recommended amount of time to fully cure before subjecting it to heavy cleaning or aggressive use. After that, use gentle cleaners and soft cloths rather than abrasive scrubbers. Wipe away cooking splatters and spills promptly, especially around the sink and stove. It's also worth remembering that "durable" doesn't mean "indestructible." Even a professionally applied finish may eventually need small touch-ups around handles, edges, or other high-contact areas.

Treat painted cabinets more like furniture than walls, and they'll generally reward you for it.


Cabinet Painting vs. Replacement for Long-Term Value

If you like your kitchen layout and your existing cabinet boxes are in good condition, painting can be a smart alternative to replacing everything. Instead of removing functional cabinetry simply because the color or finish feels dated, professional cabinet painting can give the kitchen a dramatically different appearance while avoiding much of the cost and disruption of a full remodel.

Replacement makes more sense when cabinets are badly damaged, poorly constructed, or the existing layout no longer works for your household. 

Why Professional Cabinet Painting Is Worth It

The biggest difference between a quick cosmetic cabinet paint job and one designed to last is often everything you don't see once the project is finished. An experienced cabinet painter can evaluate the existing surfaces, identify areas that need repair or additional preparation, select primers and coatings appropriate for the cabinets, and apply the finish consistently. That's especially important if your goal isn't simply to make the kitchen look better for the next year or two. A properly completed cabinet painting project should provide a durable, furniture-like finish intended for years of everyday use.

Refresh Your Kitchen with Cabinets Built to Last: Fitzpatrick Painting & Construction

Professionally painted cabinets aren't just a color change. When the cabinets are good candidates for painting and the project is completed correctly, the new finish can become a long-lasting kitchen improvement. For Willamette Valley homeowners considering cabinet painting, Fitzpatrick Painting & Construction can evaluate your existing cabinets, talk through your options, and help determine whether painting makes sense for your kitchen.

Ready to see what a new cabinet finish could do for your space? Request a cabinet painting estimate or consultation with Fitzpatrick Painting & Construction.
Get a free cabinet painting estimate!
September 28, 2026
Should you paint your whole house at once or tackle it room by room? Compare cost, convenience, timing, and disruption to find the best approach.
September 14, 2026
Wondering if your kitchen cabinets can be painted or if it’s time to replace them? Learn what makes cabinets worth painting—and when they’re not.
September 4, 2026
See what it takes to paint a large apartment building in Eugene, Oregon. Go behind the scenes of Fitzpatrick Painting & Construction's Franklin Apartments exterior painting project.
August 25, 2026
Repainting a home in an HOA? Learn what to check before you start, including approved colors, architectural review requirements, timelines, and contractor documentation.
August 13, 2026
Should you paint before or after installing new flooring? Learn the best project order for walls, ceilings, floors, baseboards, trim, and final touch-ups.
July 30, 2026
How long does a paint job last? Learn typical interior and exterior paint lifespans in the Willamette Valley and what factors help your paint last longer.
July 14, 2026
Looking for an interior painter in Salem? Use this checklist to compare contractors, ask the right warranty questions, spot red flags, and hire with confidence.
June 30, 2026
Planning interior painting for a Portland condo or townhome? Learn color, lighting, ventilation, HOA, and scheduling tips before starting your project.
June 30, 2026
Learn why some Salem homes need more exterior paint prep due to older siding, peeling paint, moisture damage, mildew, and Oregon weather.
June 30, 2026
Learn how Eugene’s rainy season affects exterior painting, including prep, drying time, scheduling, and how professionals plan around wet weather.
June 30, 2026
Older wood siding can give a Corvallis home a lot of character, but it also needs the right care before repainting. If your siding looks faded, peeling, cracked, or weathered, paint may help restore its appearance and protection. However, older wood siding should be checked for moisture damage, failing paint, soft wood, and proper prep needs before any new coating is applied. Painting over problems does not make them go away. In many cases, the most important part of the project happens before the first coat of paint goes on. A careful inspection, thorough prep work, and the right exterior painting process can make a major difference in how long the finished result lasts. Why Older Wood Siding Needs Extra Attention Before Painting Older wood siding does not behave the same way as newer siding materials. Wood can absorb moisture, expand, contract, crack, and show signs of age in ways that are not always obvious from a distance. A home may look like it only needs fresh paint, but once the surface is cleaned and inspected, there may be soft boards, open seams, or areas where old paint is no longer bonded well. This is especially important for older homes in Corvallis and the surrounding Willamette Valley. Many houses in the area have been through years of rain, shade, damp winters, and seasonal temperature changes. Over time, those conditions can wear down paint and expose the siding underneath. Before repainting, homeowners need to know whether the siding is still sound enough to hold paint properly. How Corvallis Weather Affects Wood Siding Corvallis weather can be tough on exterior wood. Wet winters, damp spring conditions, tree cover, and moss-prone areas can all speed up paint failure. Even when a home looks fine during the drier months, moisture may have already worked its way into weak spots around trim, lower siding, windows, or shaded walls. The shaded sides of a home often show wear sooner than areas with better sunlight and airflow. North-facing walls, areas under trees, and spots near landscaping may stay damp longer after rain. That extra moisture can lead to peeling paint, mildew growth, swollen wood, and surface damage. Because of this, painting older wood siding in Corvallis is not just about choosing a new color. It is about making sure the siding is dry, stable, and properly prepared for long-term protection. Signs Your Wood Siding Needs More Than a Quick Repaint A quick repaint may improve the look of a home for a short time, but it will not solve deeper siding problems. If the paint has failed because of moisture, rot, poor prep, or damaged wood, the same issues can come back after the new paint is applied. Before repainting older wood siding, homeowners should look for signs that repairs or extra prep may be needed first. Peeling Paint That Keeps Coming Back If the same areas keep peeling year after year, there is usually a reason. Repeated peeling can point to trapped moisture, poor previous prep work, or an older coating that is no longer bonded well to the siding. Simply painting over those areas may cover the problem temporarily, but the new paint may fail again if the surface underneath is not properly scraped, sanded, primed, and prepared. Peeling paint is especially common around areas that hold moisture, such as lower walls, window trim, and shaded sides of the house. These spots should be checked carefully before repainting. Soft Wood Near Trim or Lower Siding Soft wood is a warning sign that should not be ignored. Areas near the bottom of walls, windows, doors, and trim are often more vulnerable because water can collect, splash back, or enter through gaps. If the wood feels soft, swollen, crumbly, or weakened, paint will not fix it. Damaged wood should be repaired or replaced before painting. Painting over soft or rotted wood can trap moisture and make the problem worse. It can also shorten the life of the new paint job because the coating needs a solid surface to bond to. Cracks, Gaps, and Open Seams Cracks, gaps, and open seams allow moisture to get behind the siding or into trim joints. Over time, that moisture can lead to swelling, rot, peeling paint, and more repairs. These openings may be small, but they can have a big impact on how well the siding holds up after painting. Before paint is applied, failing caulking should be removed where needed, gaps should be sealed properly, and damaged areas should be addressed. This helps create a tighter exterior surface and gives the new paint a better chance to last. Why Prep Work Matters More on Older Siding Prep work is one of the biggest factors in how long an exterior paint job lasts, especially on older wood siding. If the surface is dirty, loose, glossy, damp, or damaged, new paint will not perform the way it should. Older siding often needs more detailed preparation because it may have layers of old paint, uneven surfaces, exposed wood, or problem areas that are easy to miss. A proper prep process may include washing the siding, removing loose paint, sanding rough edges, spot priming bare wood, sealing gaps, repairing damaged boards, and making sure the surface is ready for finish coats. These steps take time, but they are what help the paint bond correctly and protect the siding longer. Skipping prep may save time upfront, but it often leads to peeling, cracking, and repainting sooner than expected. Should Older Wood Siding Be Painted or Repaired First? Paint is designed to protect sound siding, not repair damaged siding. If the wood is still in good condition, a professional exterior painting project can help restore the home’s appearance and protect it from future weather exposure. But if there is rot, water damage, loose boards, or failing trim, those problems need to be addressed before painting. A professional inspection can help homeowners understand what the siding actually needs. Some homes only need minor repairs, targeted scraping, priming, and repainting. Others may need board replacement, trim repair, or more detailed prep before paint can be applied. Knowing this ahead of time helps avoid wasting money on a paint job that will not hold up.  For Corvallis homeowners, this is especially important because moisture-related siding issues can be easy to overlook until the surface is closely inspected. Getting the condition of the siding right first helps protect both the finished look and the home itself.
June 29, 2026
Choosing a kitchen remodel contractor? Learn what to look for, which questions to ask, and how to find the right professional for your Willamette Valley kitchen renovation.
More Posts